Disclaimer: I am not a professional underwater photographer and do not have great experience using underwater housings. However, I believe in getting the best images possible in any situation. My review of the Aquatech ATB A6500 is from an underwater housing novice’s standpoint.
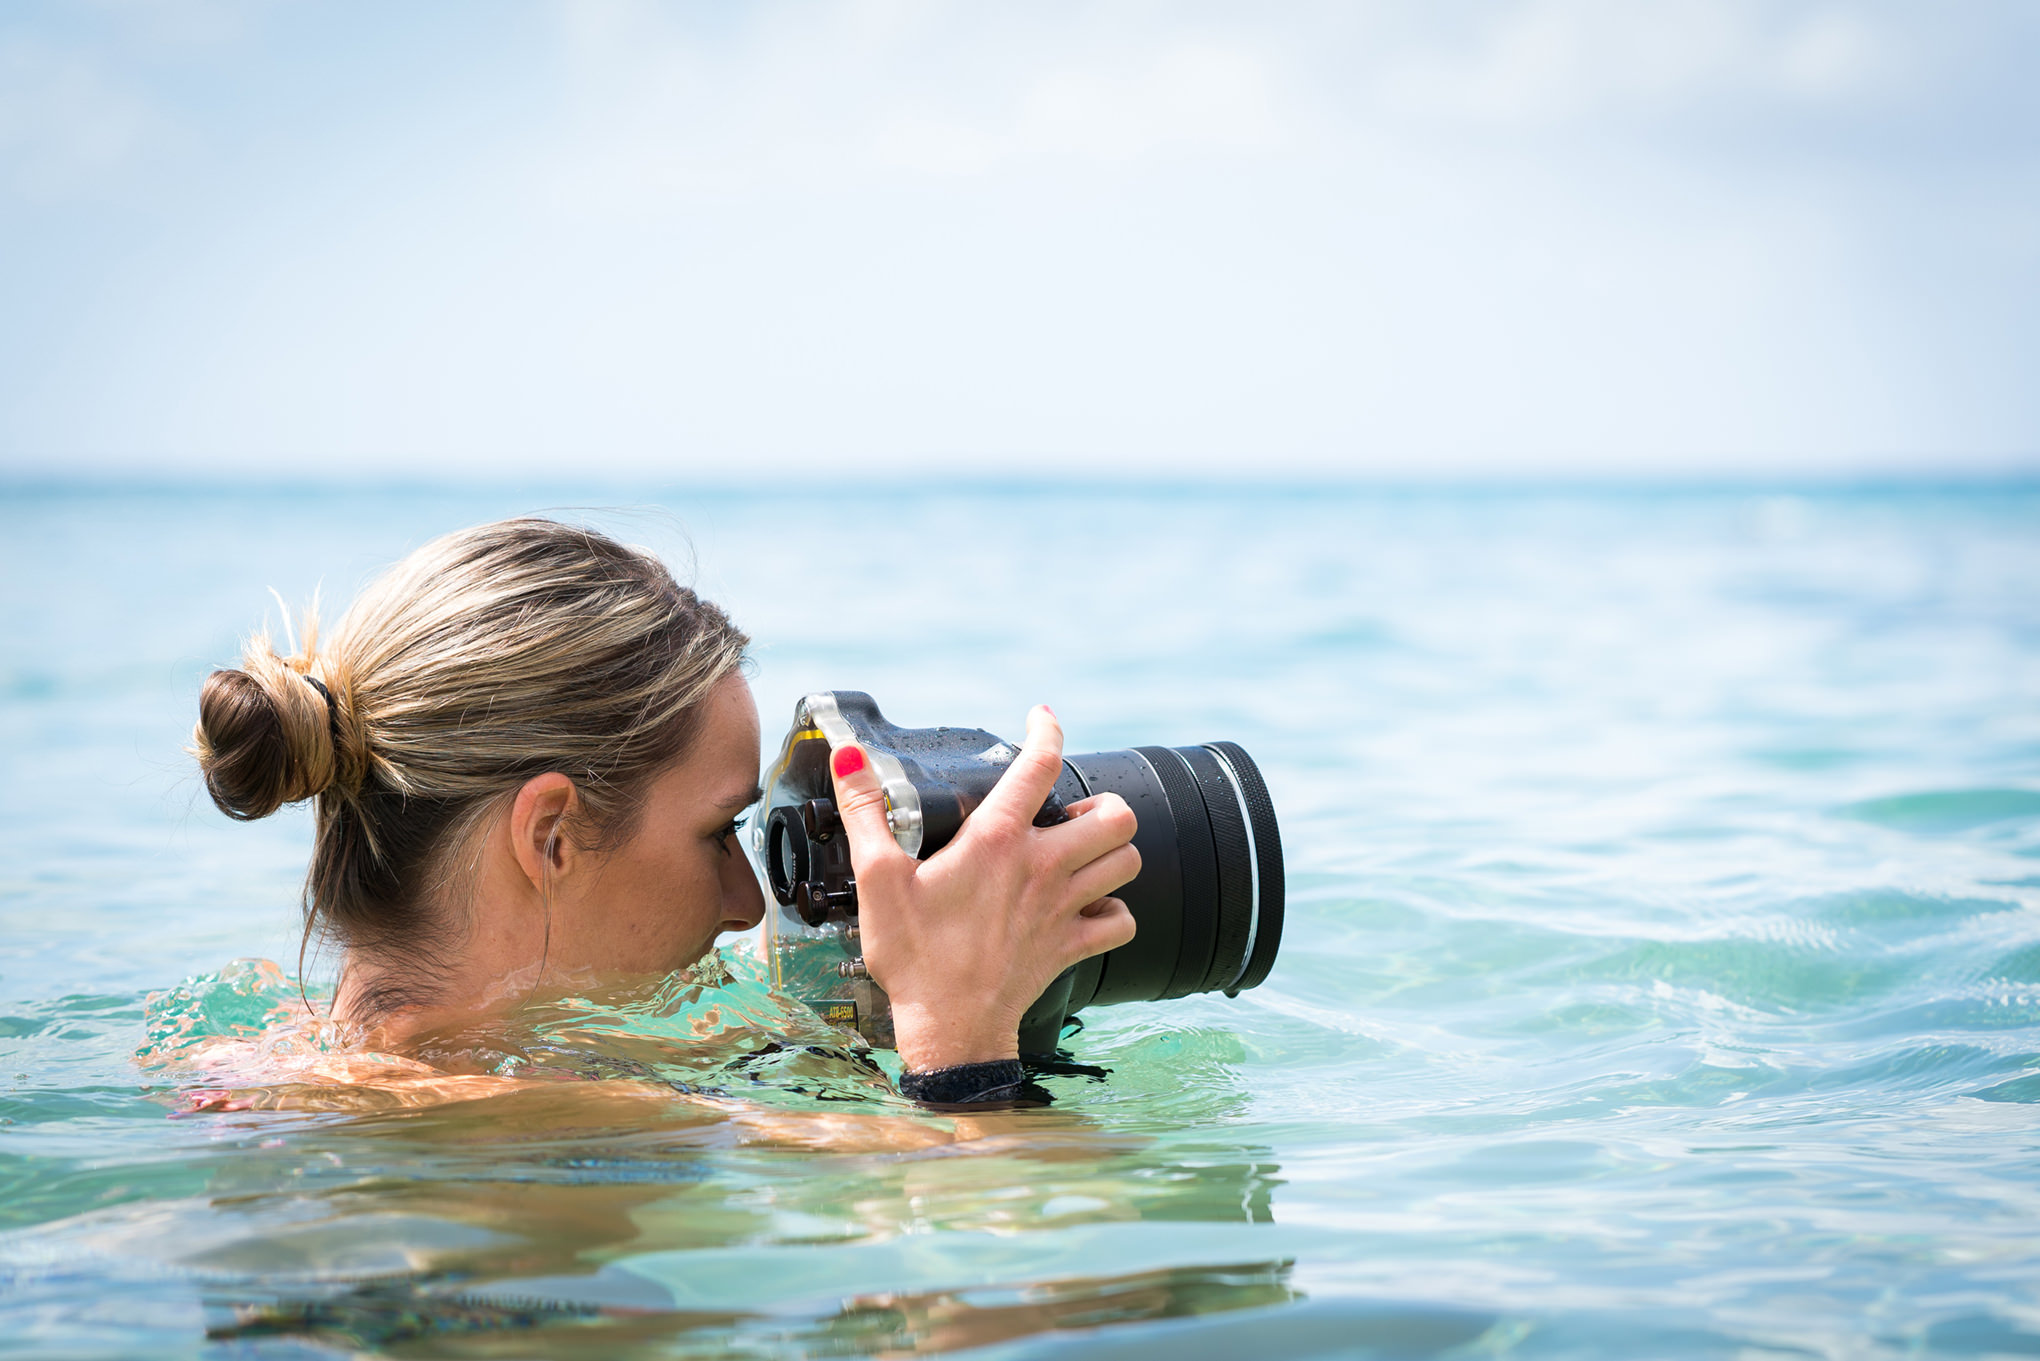
In October of 2017, I headed off to Hawaii for a family vacation and wedding. My photographic goals for this trip were to shoot the family wedding and do some exploring. Most of all I wanted to experiment with underwater photography. I’m not a fan of shooting photos and videos with a GoPro or iPhone underwater, as the small sensor size and needed higher ISO would result in an unflattering image in my opinion. Therefore I would need an underwater housing for a “real” camera. Aquatech Imaging Solutions was kind enough to send me the ATB A6500 underwater housing to use and review, and here are my thoughts on my experience with it.
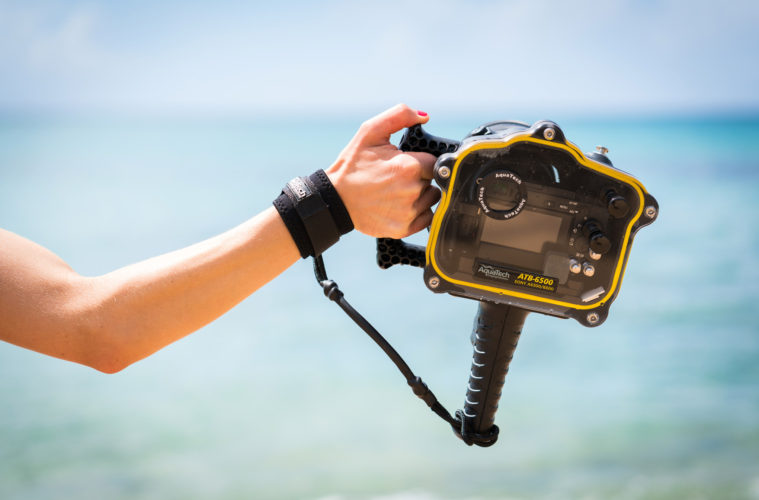
First, why the ATB A6500 underwater housing? I considered a housing for my 1DX Mark II. I have no doubt this would have been amazing, but considering its size, and the fact that I was traveling with family, I wanted to limit the amount of gear I brought. Next, why Aquatech Imaging Solutions? There are plenty of relatively inexpensive underwater housings on the market. If you’ve read reviews on this website though, you know how I feel about gear. Get the best, and it’ll make your life much easier when shooting. I don’t want to worry about water seeping into the housing, and I want to have as much manual control of the camera as possible while in the water.
If you’re interested in an overview of the controls, materials, and how to assemble the ATB A6500 underwater housing, check out the video review below. This written review will mainly be dedicated to my experience shooting and traveling with it.
Right off the bat, you need to know what you are getting into when traveling with an underwater housing. Plan for it to take up much more space than you think it will need. I thought, ”hey, I’m only bringing the tiny A6300, and I should be fine with space.” Boy was I wrong. Not only did the underwater housing take up more space than I thought it would, it took up a ton more space than I anticipated. So be prepared for that. I traveled with it in an entirely separate carry-on with a little bit of the other camera gear.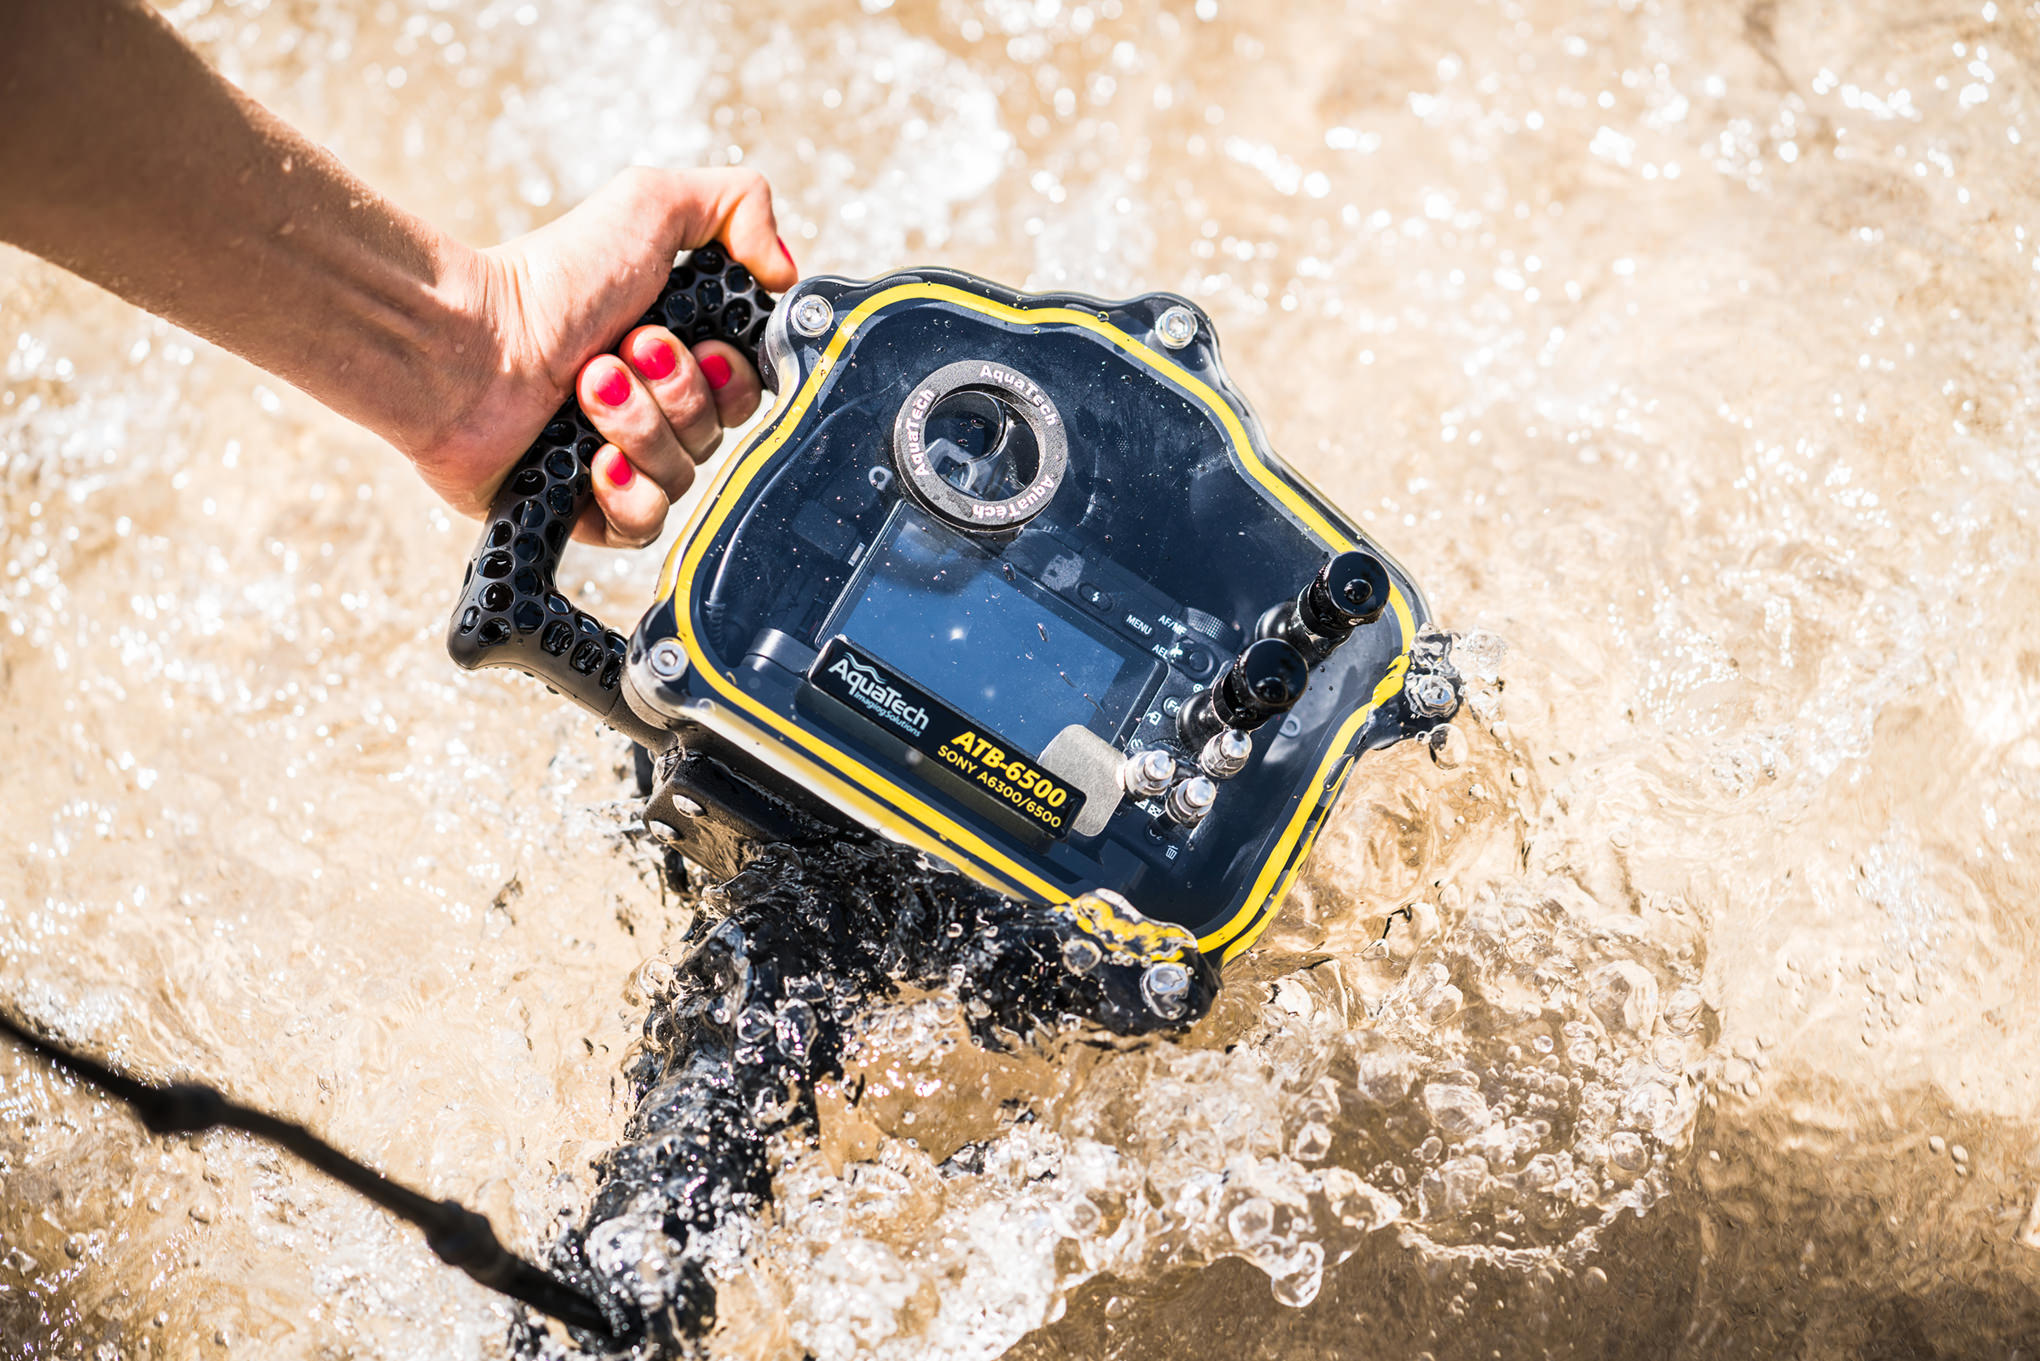
Aquatech ATB A6500 Underwater Housing || Check Price
Aquatech LP-50EX Extension Ring || Check Price
When I arrived at my destination, I quickly realized that in order to maximize time in the water I would need to pre-assemble the underwater housing as much as possible before taking it out. Because I was going to use Zeiss Batis lenses, I also used the LP-50EX extension ring. All the gaskets on the underwater housing were easy to get in their notch, and I was off and running in no time. I figured that the best way to keep the underwater housing stored in our condo was to attach all parts except for the backing. All I would need to do before leaving for the beach would be to insert the camera, plug in the cable for the trigger mechanism, and attach the backing. Easy enough.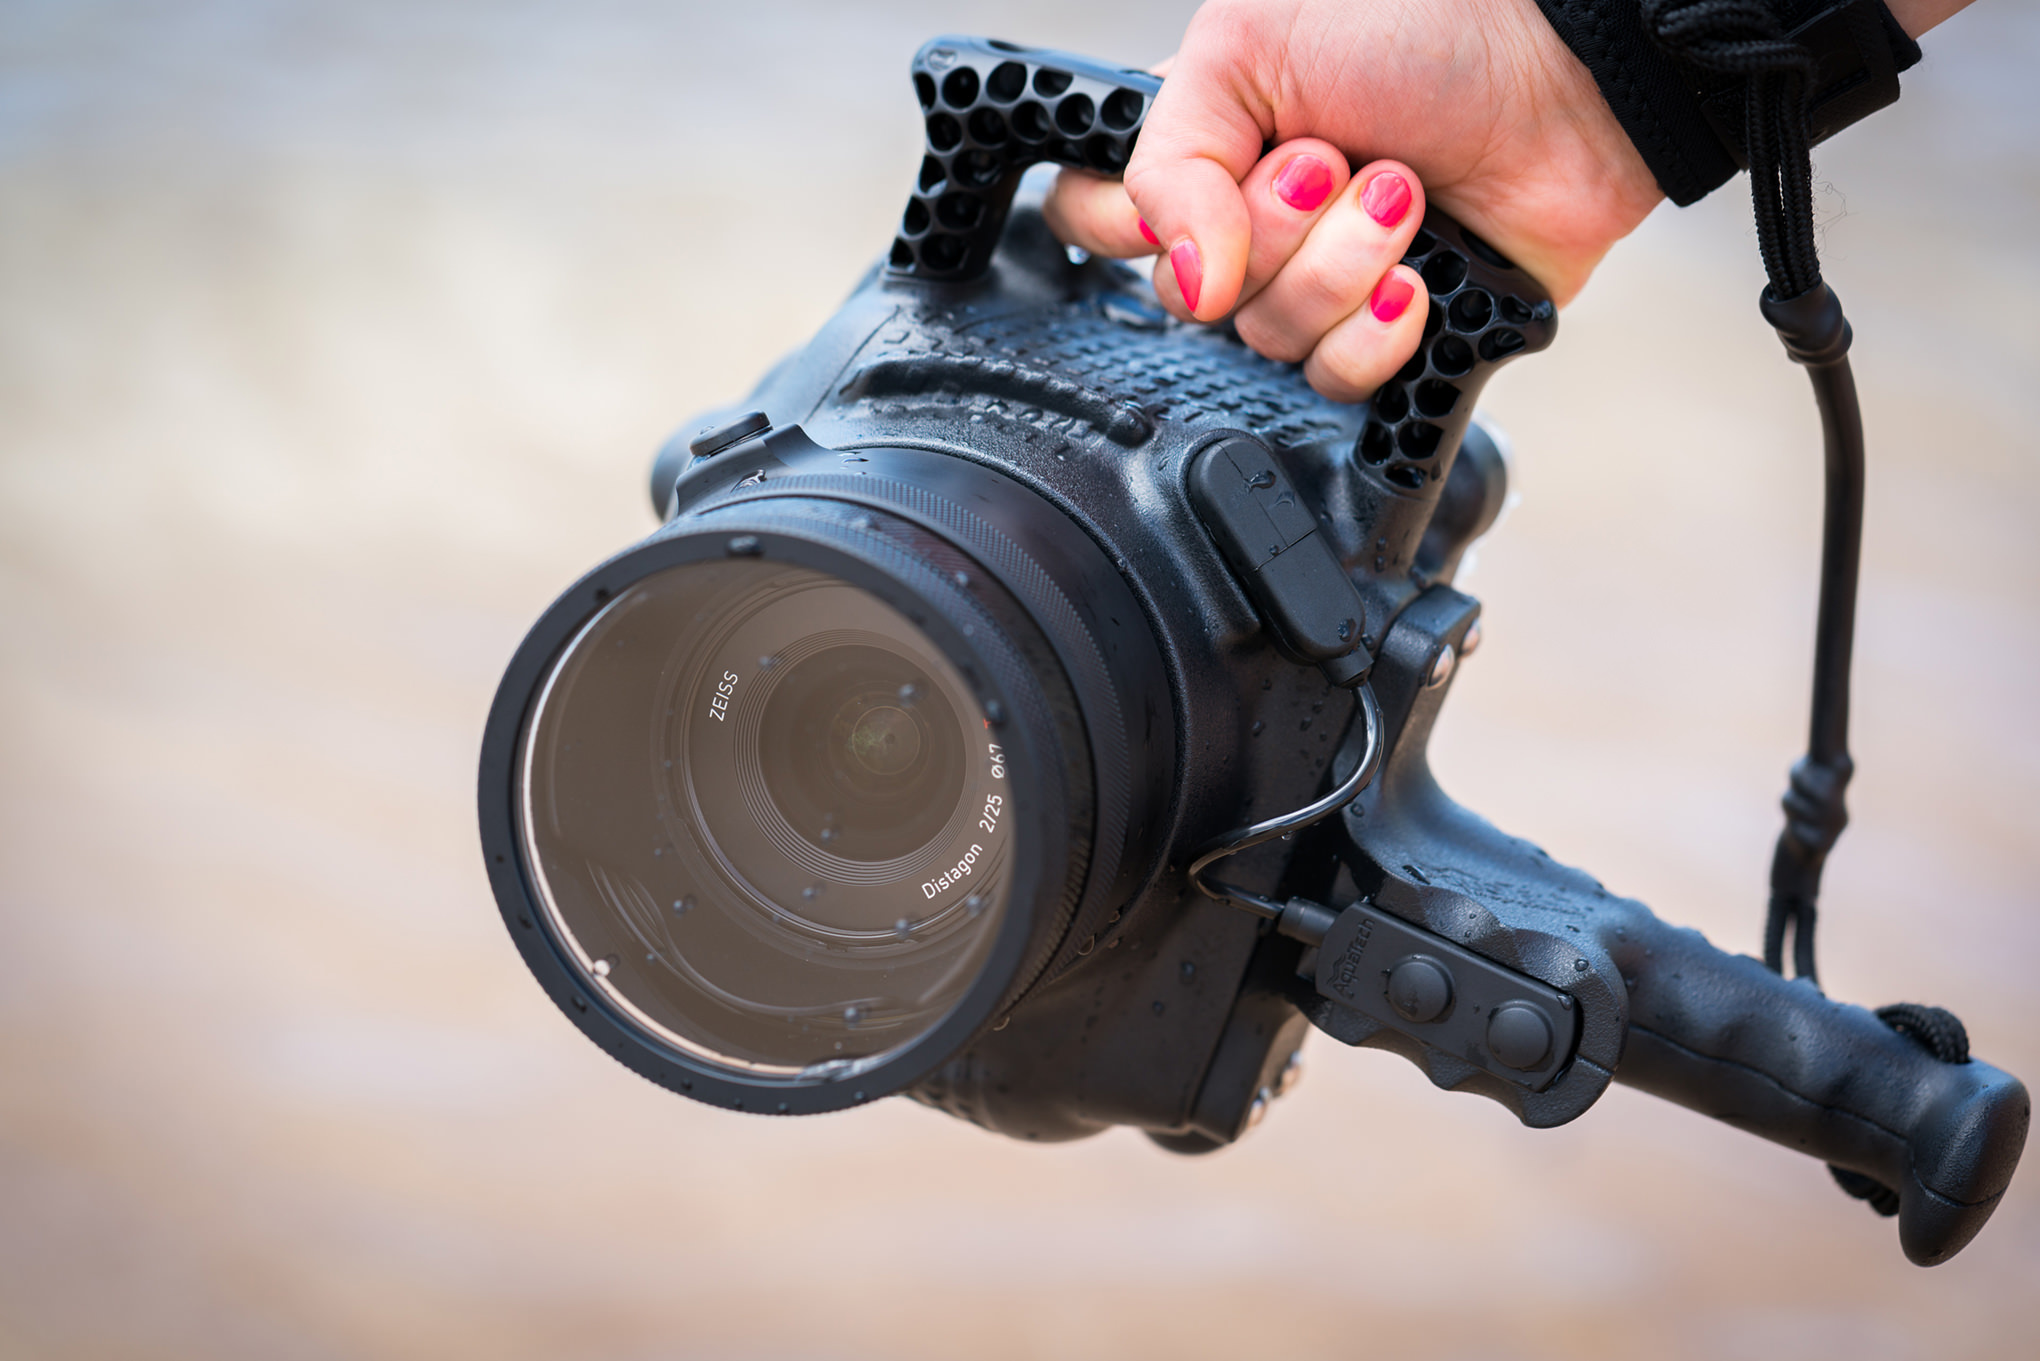
Before I left for the trip, I took Aquatech’s advice and tested the rig in the pool. It did well, so therefore I didn’t really test it much before diving into the ocean water. As I took the underwater housing into the waves for the first time, I had an overwhelming “cool factor” feeling. I was about to get great shots underwater. Little did I know that my trip would be most ruined by unseasonal rain, which churned up the ocean floor more than I was expecting. It turned out to be relatively okay, but I know that some of my images could have turned out a little nicer with clearer water.
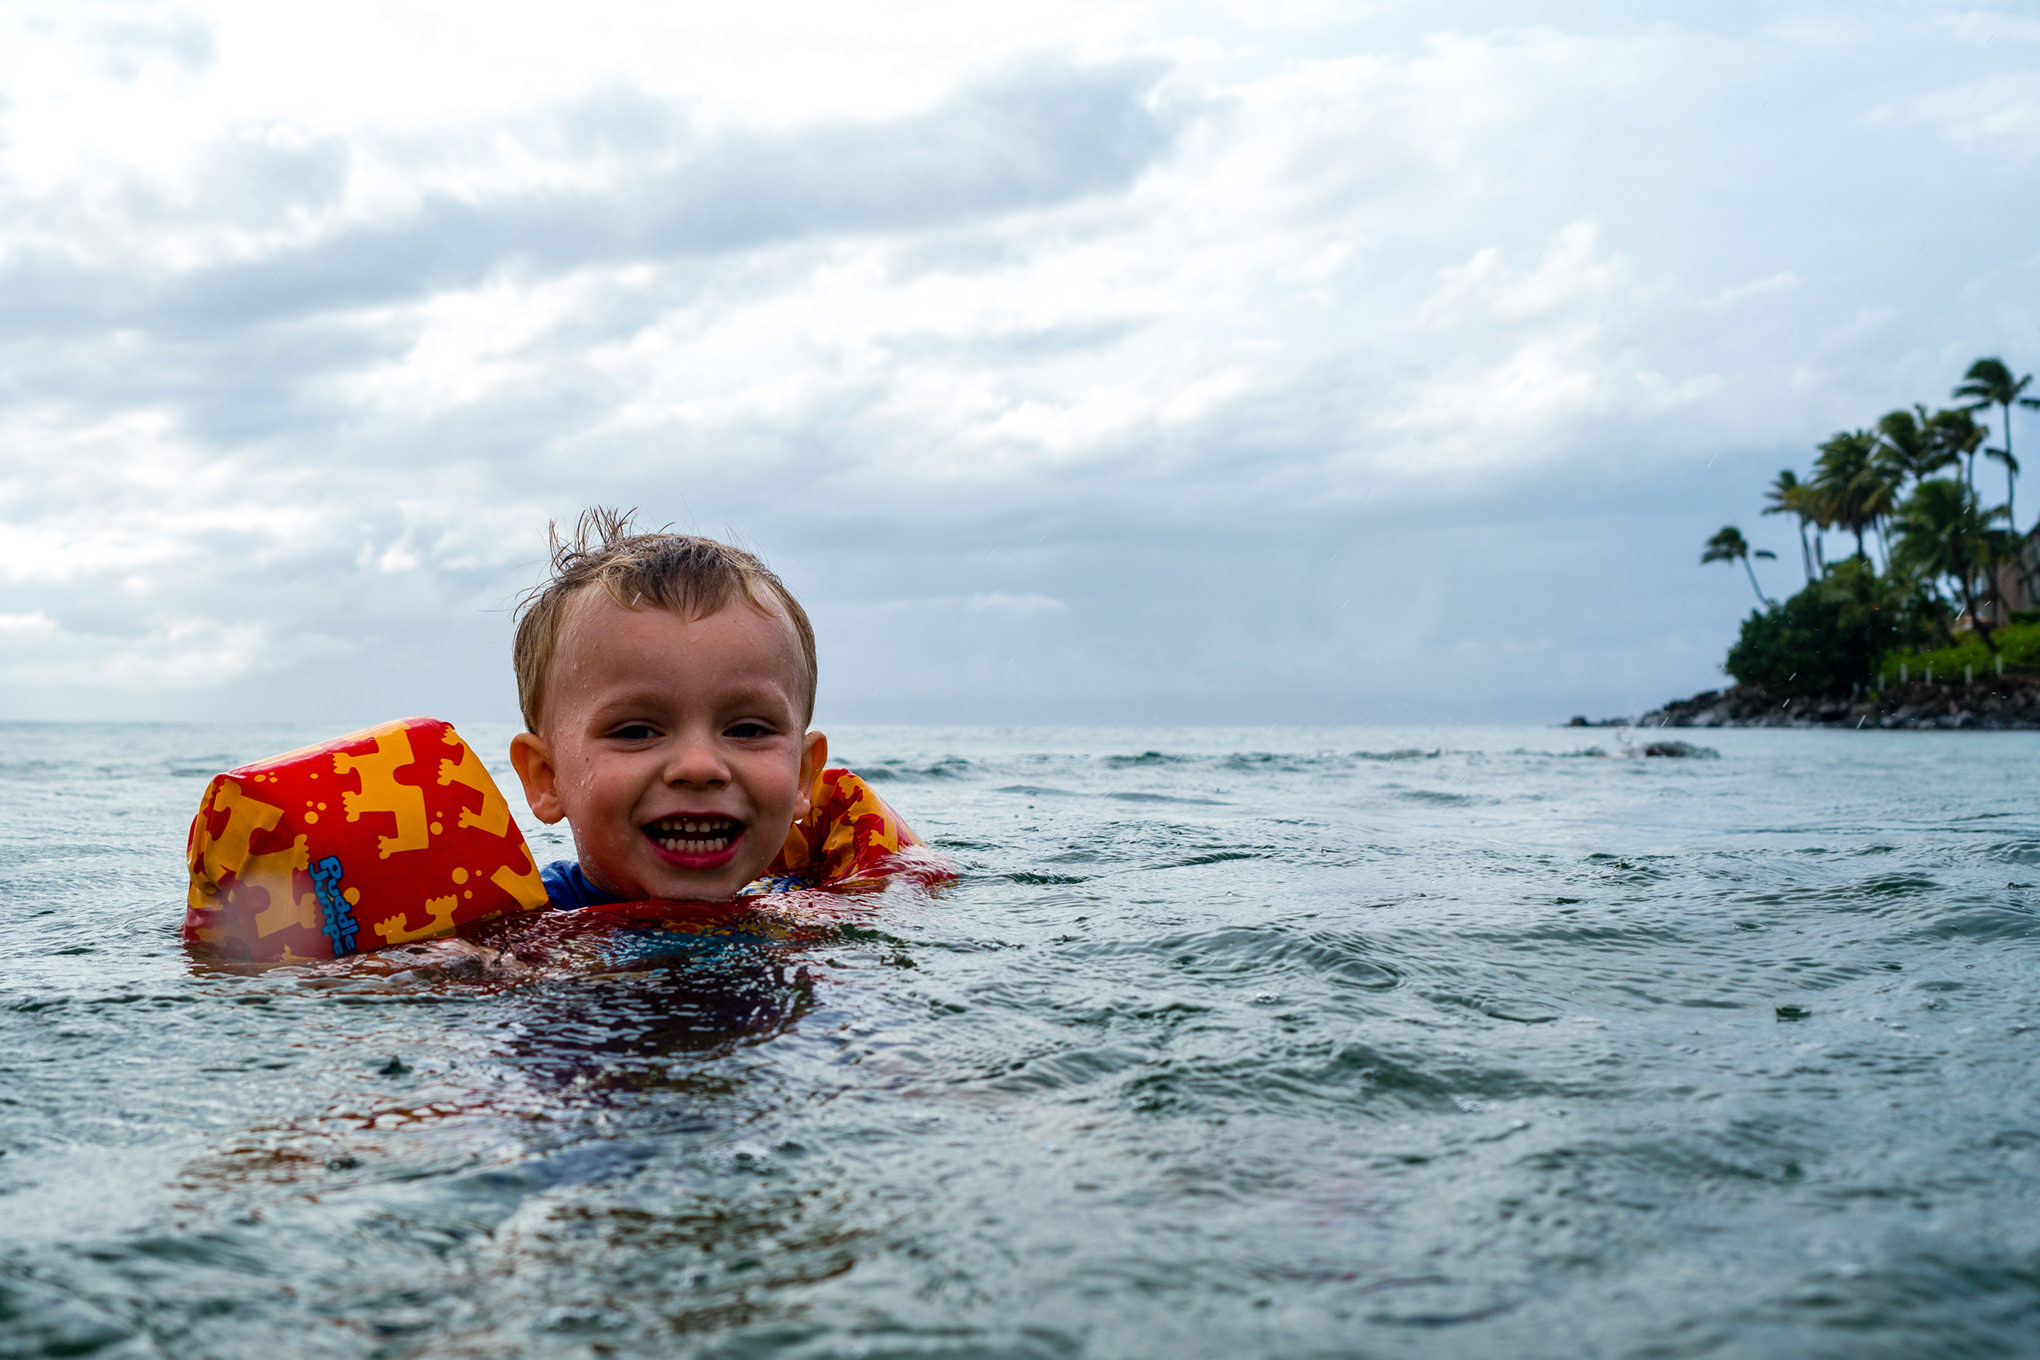
Regardless, the Aquatech ATB A6500 underwater housing did exceptionally well. The first the thing that I had to learn to overcome was just how buoyant the housing was. This buoyancy was both good and bad. It was good in the sense that I felt secure even if the leash somehow got ripped off my wrist in some freak accident. I knew that the underwater housing would float to the top of the water and be able to be retrieved easily. However, it was also tough at times to dive down a little bit. The buoyancy of the underwater housing was constantly pulling me towards the surface, and my time in even relatively deep waters we’re limited.
Both the Sony A6300 and Zeiss Batis 25mm are unstabilized, which also made it a little tough to shoot. You would be surprised at just how tough it is to hold the camera still underwater. That really isn’t an issue when shooting photos, but shooting video can be harder. When switching over to the video, I found that holding both the pistol grip and side handle helped stabilize the camera, and in turn allowed me to get better footage. Next time I’ll probably bring a stabilized lens or camera with sensor stabilization. If your goal isn’t underwater photography though, and you are shooting photos or video outside the water in a wet environment, stabilizing the camera and lens should be much easier.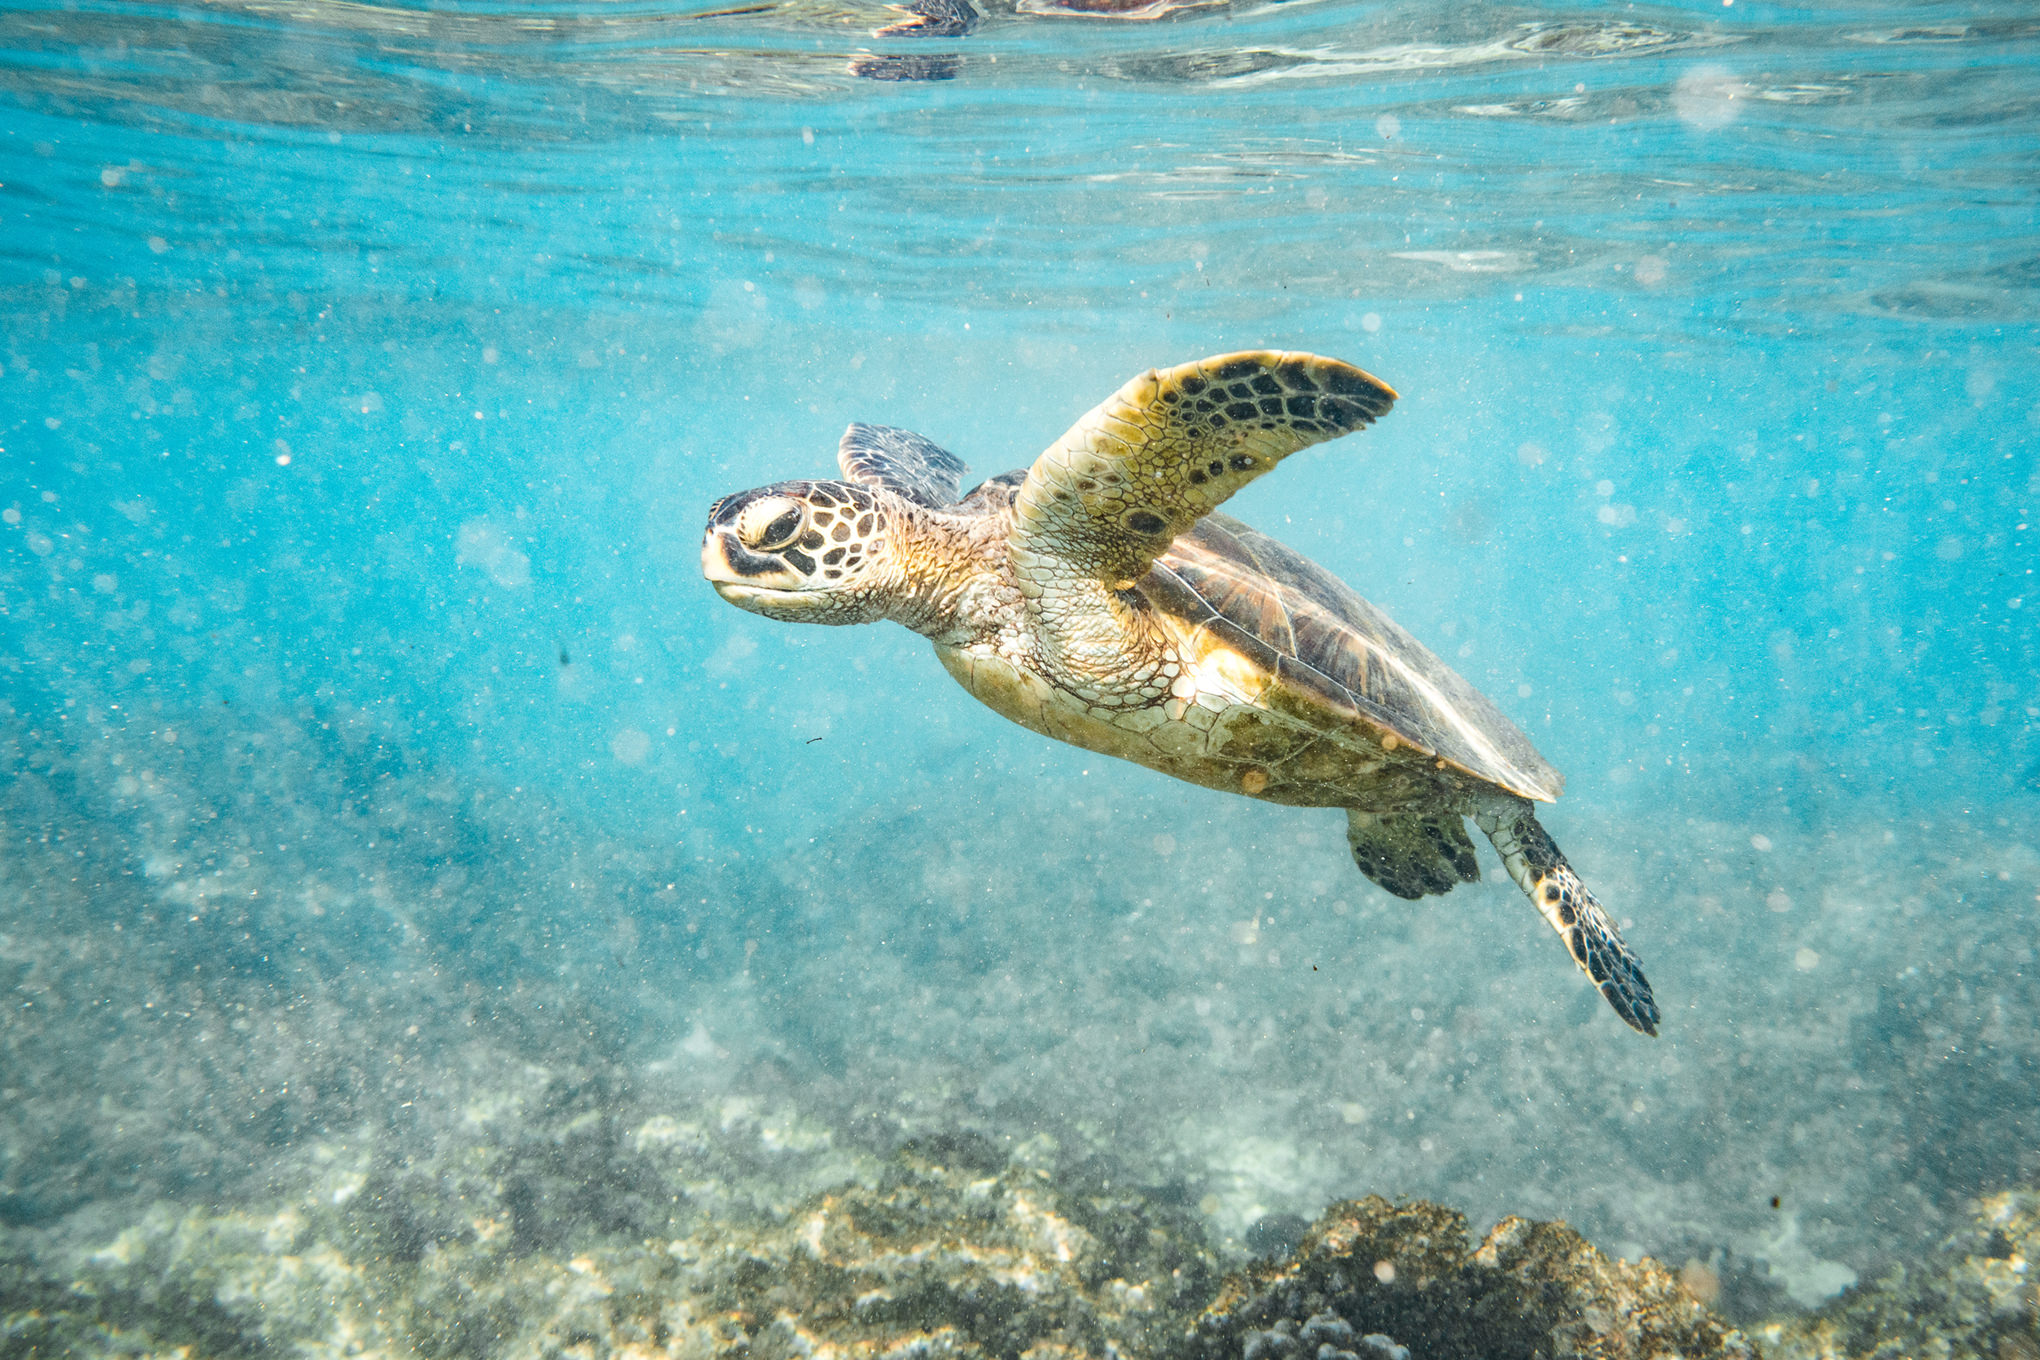

I do find myself gravitating towards the pistol grip when shooting underwater. The Aquatech ATB A6500 underwater housing does have a metal shutter button where the typical shutter button lies on the camera, but the pistol grip is so sensitive and is designed so well that I almost exclusively used it. Handling is extremely nice on all areas of the underwater housing, and I wouldn’t hesitate to use the shutter button when the pistol grip isn’t attached. On my trip it remained attached for the whole trip because I decided to deposit the corresponding allen wrench into the ocean by way of my board shorts pocket. Good times.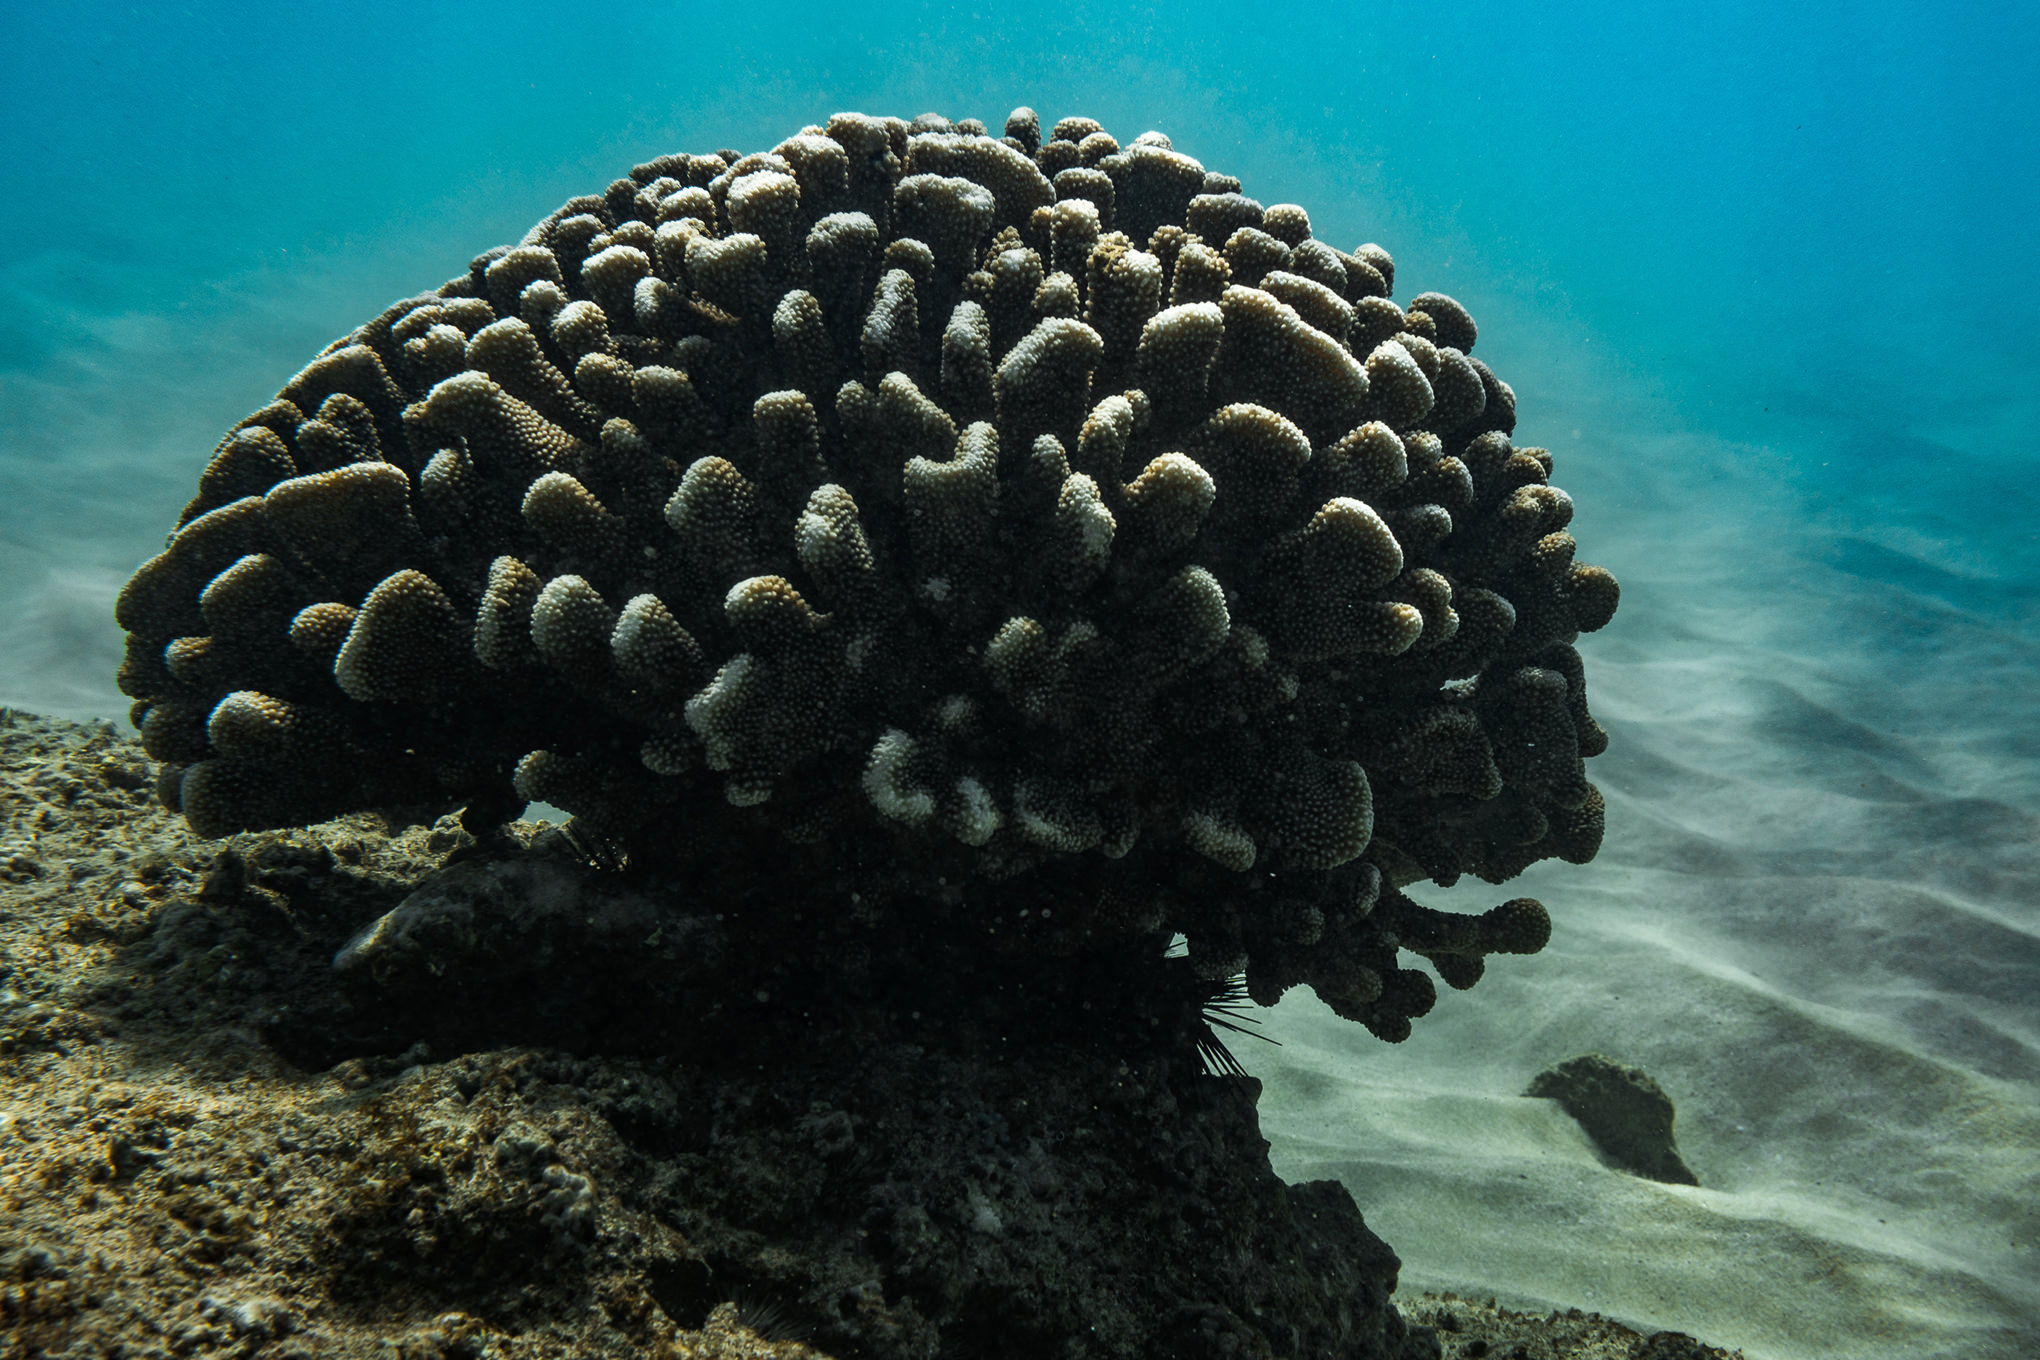
When it comes to settings on your A6300 or A6500, it is valuable to know what must be changed or dialed in before the camera is secured, and what can be changed while in the water. Before securing the camera in the underwater housing, make sure that your white balance, picture profile, resolution, and other “menu” items are changed. While in the water you’ll be able to adjust the ISO, aperture, and shutter speed. I imagine this basic feature set is because of the complex Sony menu, whereas other cameras (Canon and Nikon), have more dedicated controls. No worries though, as I had done some research on dialing in what I wanted in camera.
For video, I decided to shoot in 120fps, as it would allow me to slow it down in post and get a smoother shot. I’m glad I did that, as it did end up helping. Another way of getting a more stable shot would have been to use a much wider lens, as jitters are less noticeable. In Premiere Pro, if you slow down footage, you then aren’t able to use warp stabilizer on it. I didn’t know that going in. Another combo that I would recommend is to use the Sony 10-18mm at 10mm, shoot in 4K 24fps, then stabilize it in post.
Another thing worth mentioning about the Aquatech ATB A6500 Underwater housing is Aquatech’s instructions. Set up your camera exactly how they describe, with the C2 button mapped to record video. Without that button mapped to the record function, jumping between photos and video would be impossible. Also take care to wash off the housing well after each use, as salt water can corrode over time if left sitting out.
As I am not an experienced underwater photographer, I made sure to ask around about my white balance while shooting video. Because of the loss of warmth in the blue ocean, it is imperative that you bump up your white balance. I shot around 5600K, but could have gone higher.
Overall, my experience using the Aquatech ATB A6500 underwater housing was fantastic, and I cannot recommend Aquatech’s products enough. My gear arrived home without a drop of saltwater on it, and I wasn’t easy on it at all. The handling of the underwater housing was also phenomenal, and made shooting with the A6300 underwater a breeze. Don’t skimp on your underwater housing, or you may end up making an insurance claim after your trip. Aquatech provided me with total confidence, and I highly recommend the ATB A6500 to you if you’re an A6300 or A6500 user.