
Most of what I shoot falls into three buckets: interviews, commercials, and social content. The gear changes a lot depending on the job. A quiet sit-down interview needs something totally different than a commercial bouncing between locations, or a full day of photos and video for social.
Think of these as starting points, not rules. The crew, the location, and what the client needs at the end of the day all decide what actually comes along.
01 / INTERVIEWS
My interviews are always multi-camera. I typically start with the BURANO as the main camera and build out from there with at least one FX6. Depending on the job, that can become two FX6s and a slider angle.
The exact combination varies with the room and the interview.
When you place the main camera and light, leave room for the side angle. Make sure each frame looks good on its own and that the slider isn’t going to drift into another camera’s shot. With a few angles rolling, take the time to match cameras, check audio, and sort out sync before anyone sits down.
ON LOCATION / FOUR-CAMERA INTERVIEW
This one was a four-camera setup, slider included. It’s what I do when the job needs more angles.
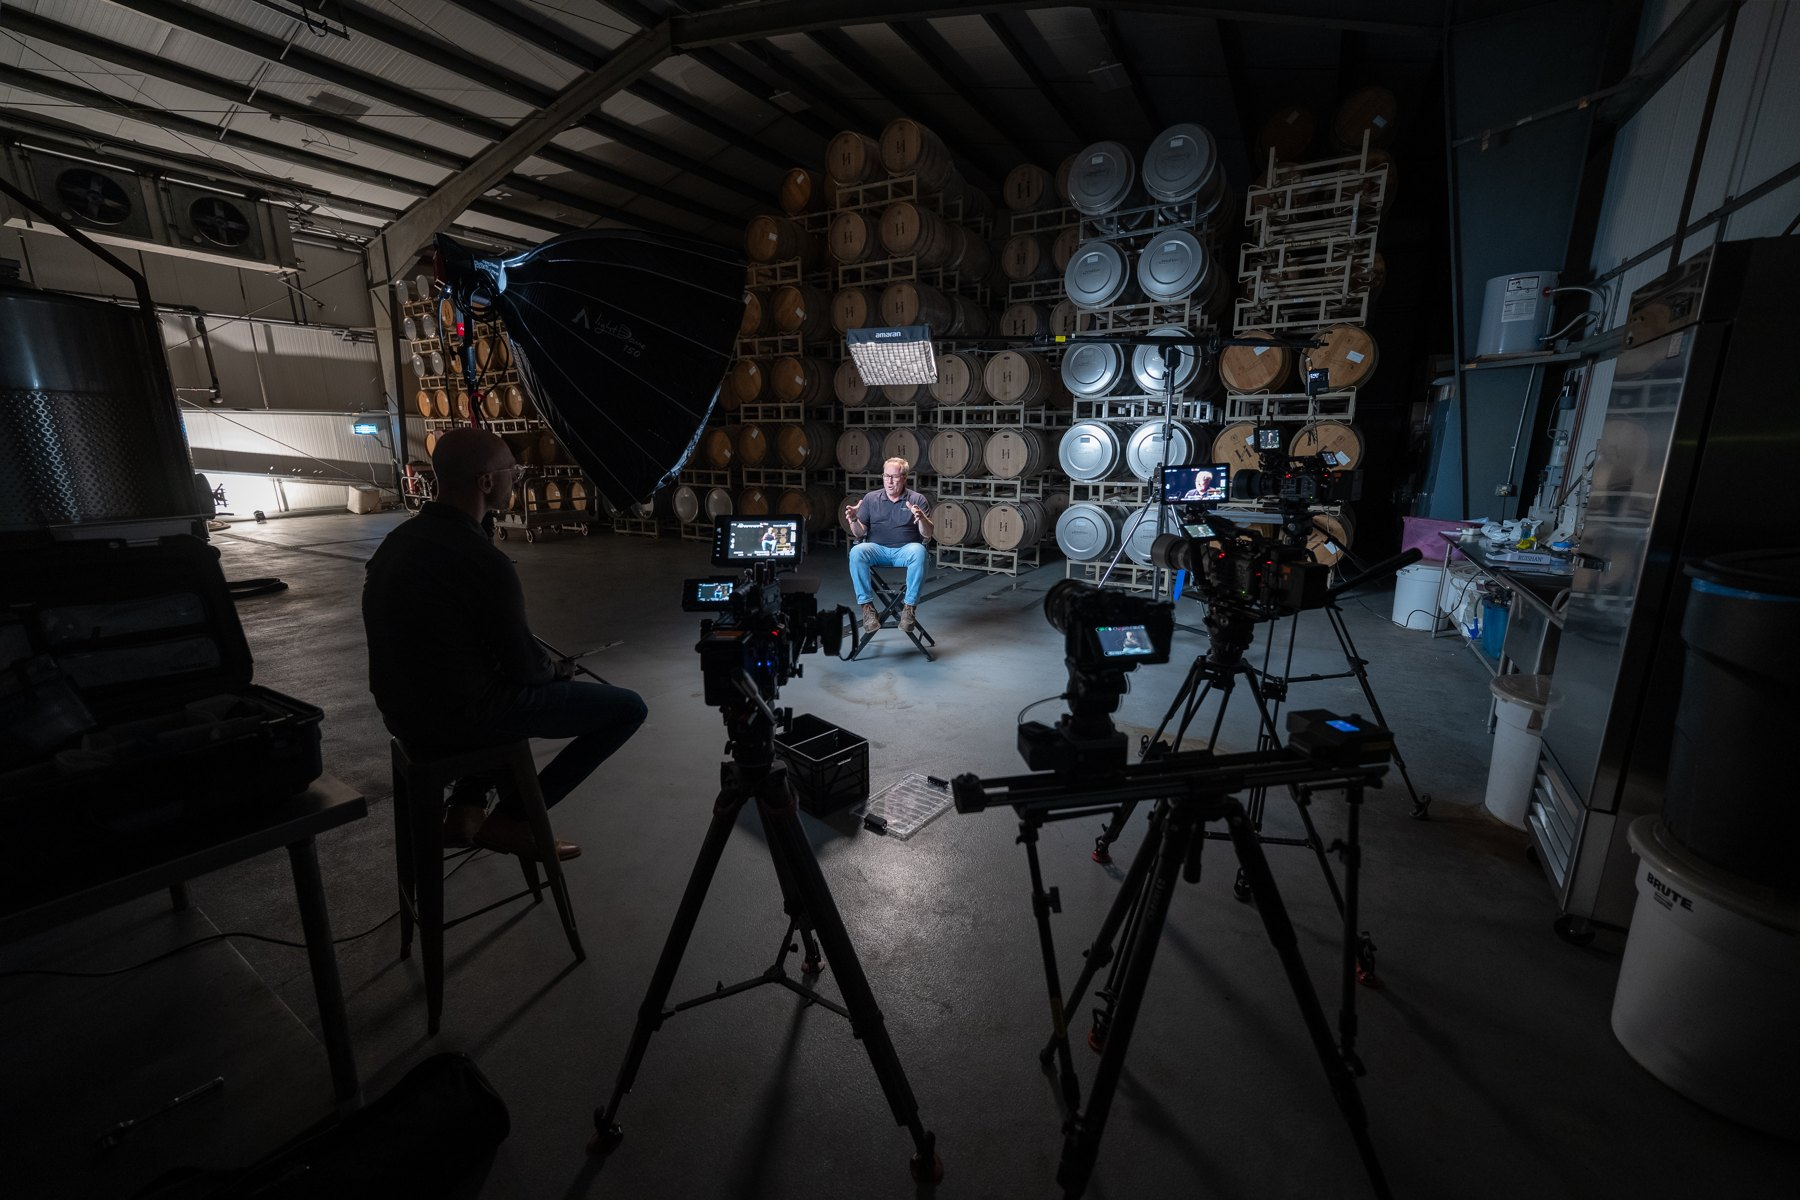
More cameras only help if every angle gives you something to use in the edit. So I plan the frames together, make sure the slider stays out of the other shots, and check that the light works from every angle before we start talking.
ON LOCATION / OUTDOOR INTERVIEWS
For a quick interview in front of the vineyard, I kept it to two cameras: the BURANO with my 50mm F1.2 on the main angle and an FX6 with the 70–200mm off to the side. That gives me a wider frame and a tighter angle without stopping the conversation to change lenses.
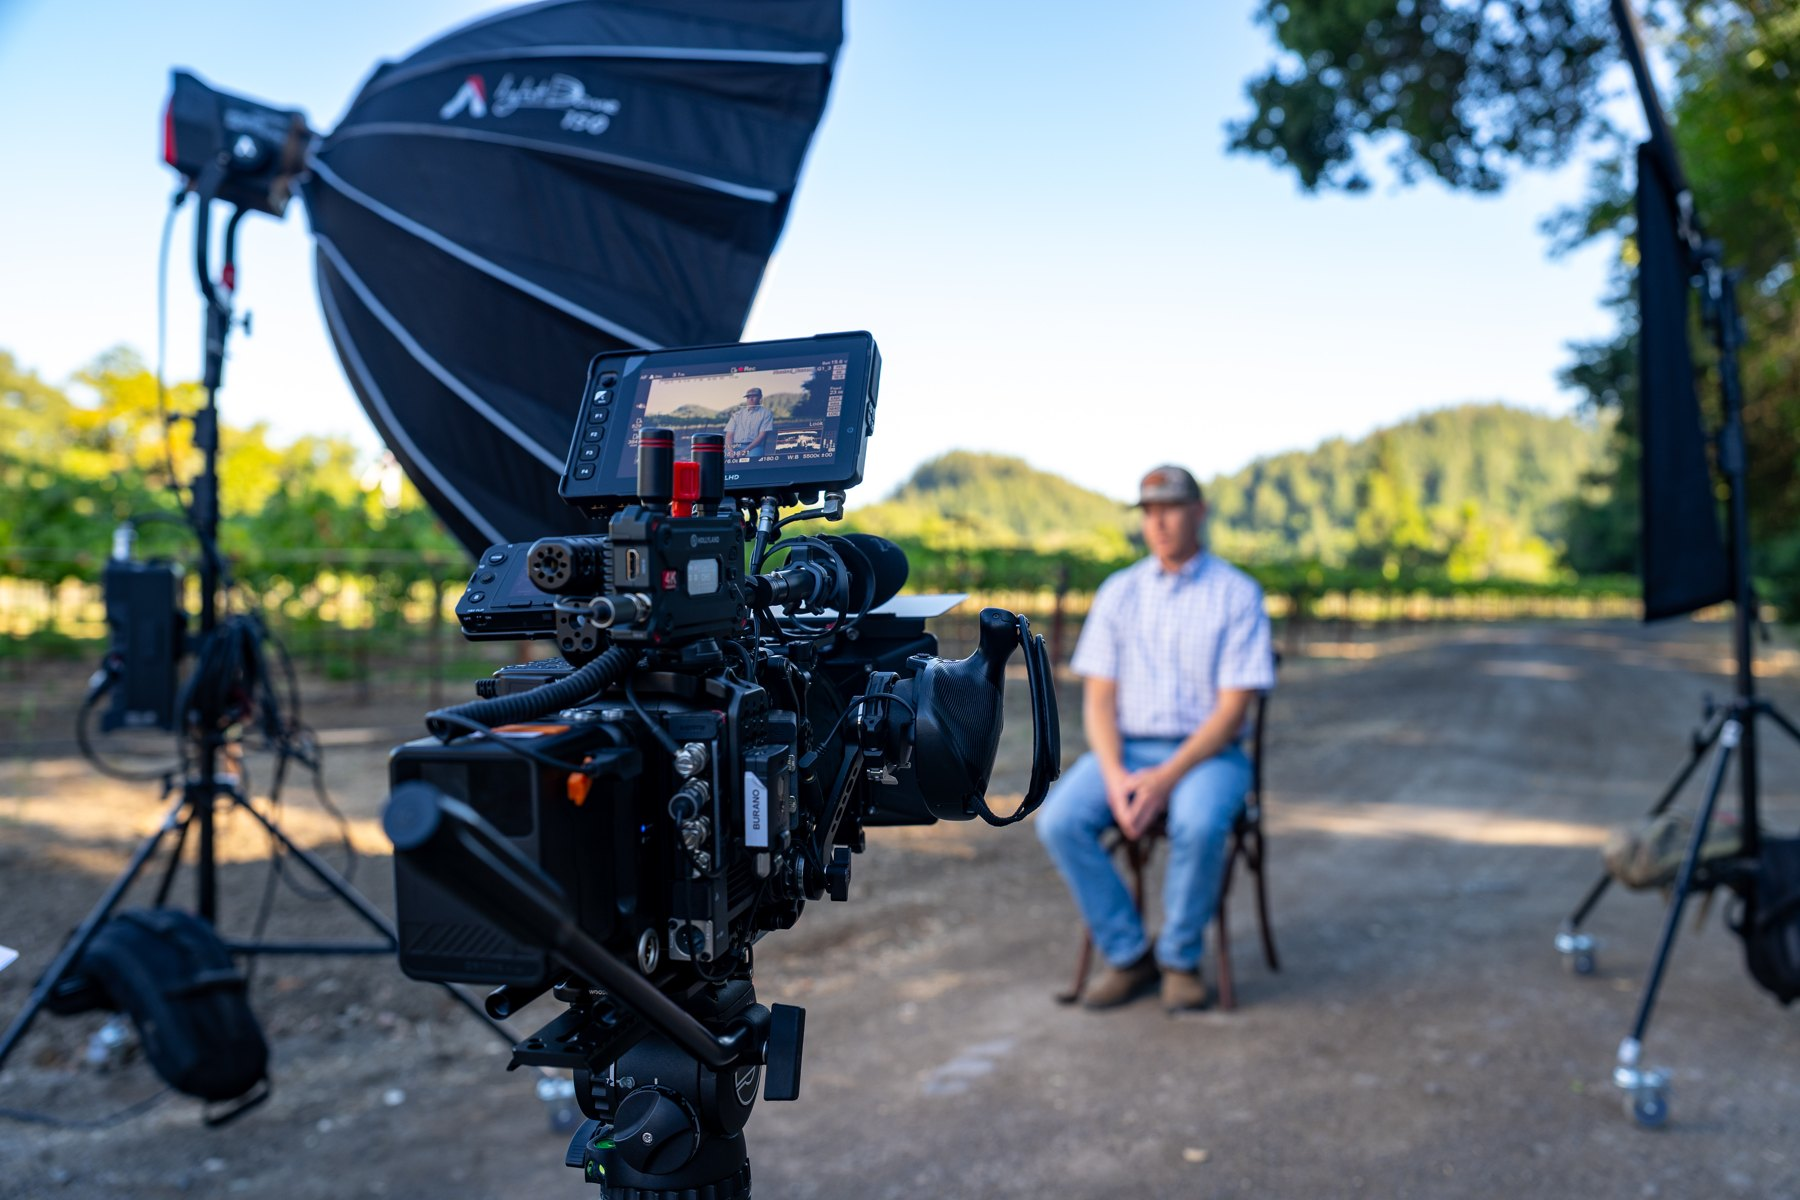
We brought the 8 × 8 diffusion, but we didn’t need to put it up. Instead, we placed the interview subjects in the shade and relit them. I like starting there when the location gives us the option. It gives me a softer base to work with, and I can decide where I want the light to come from.
At the vineyard setup, we used our generator to power the Aputure 1200d and added negative fill. The light lets me bring the face up against the brighter background. Negative fill takes away some of the light bouncing back in, so I can keep a little shape on the shadow side.
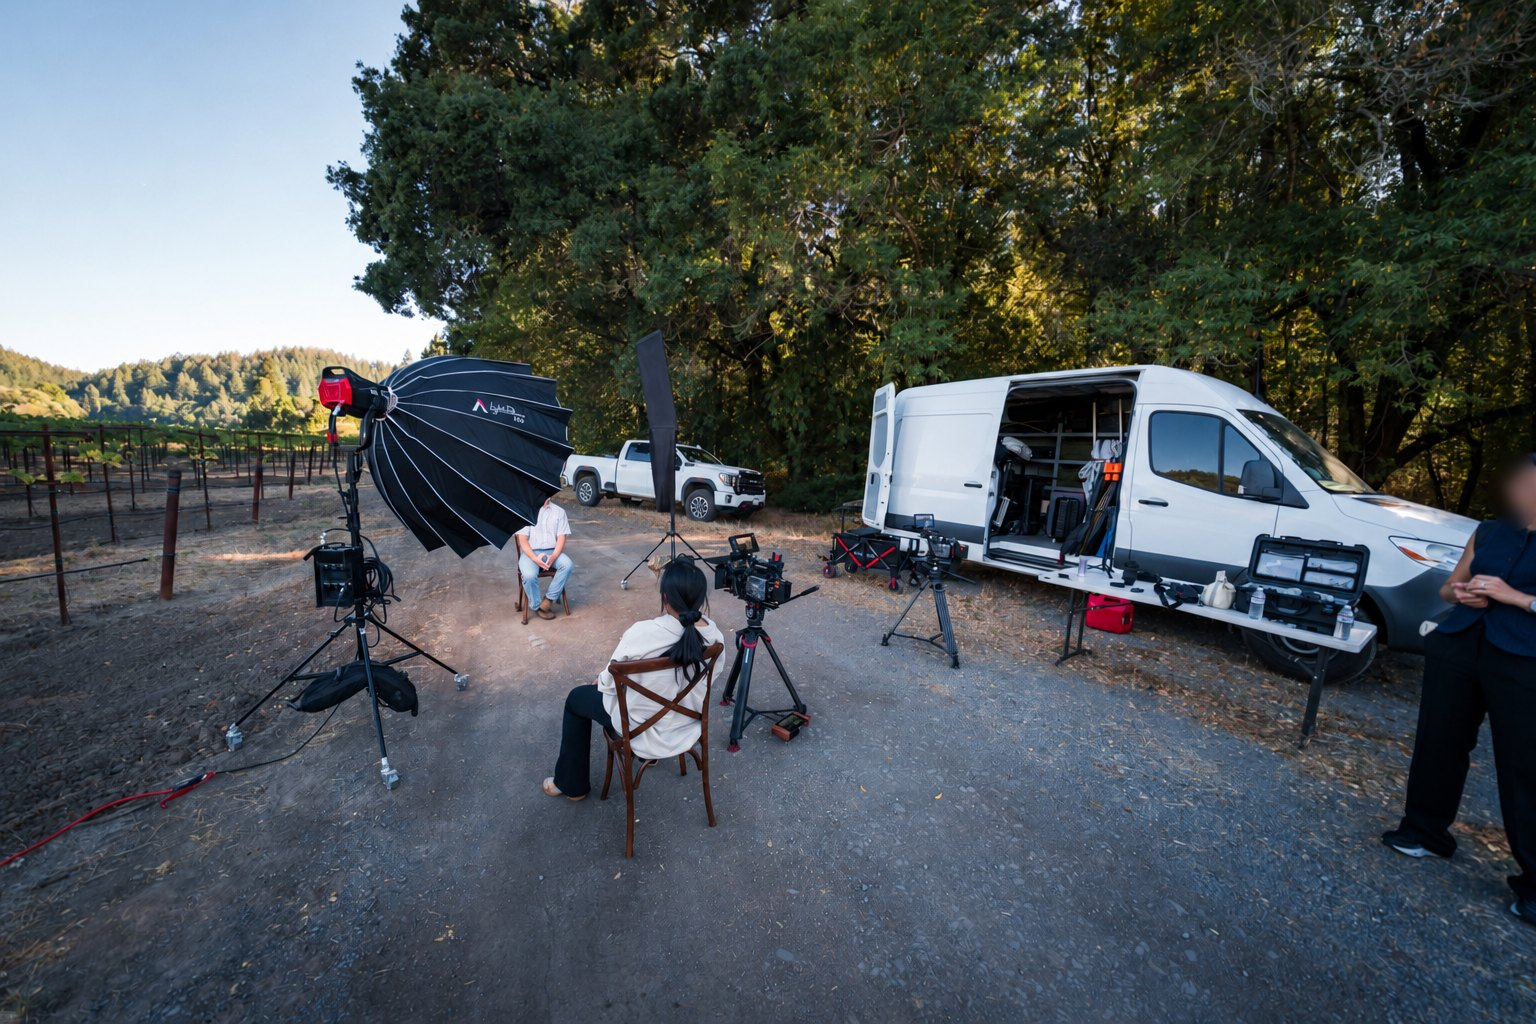
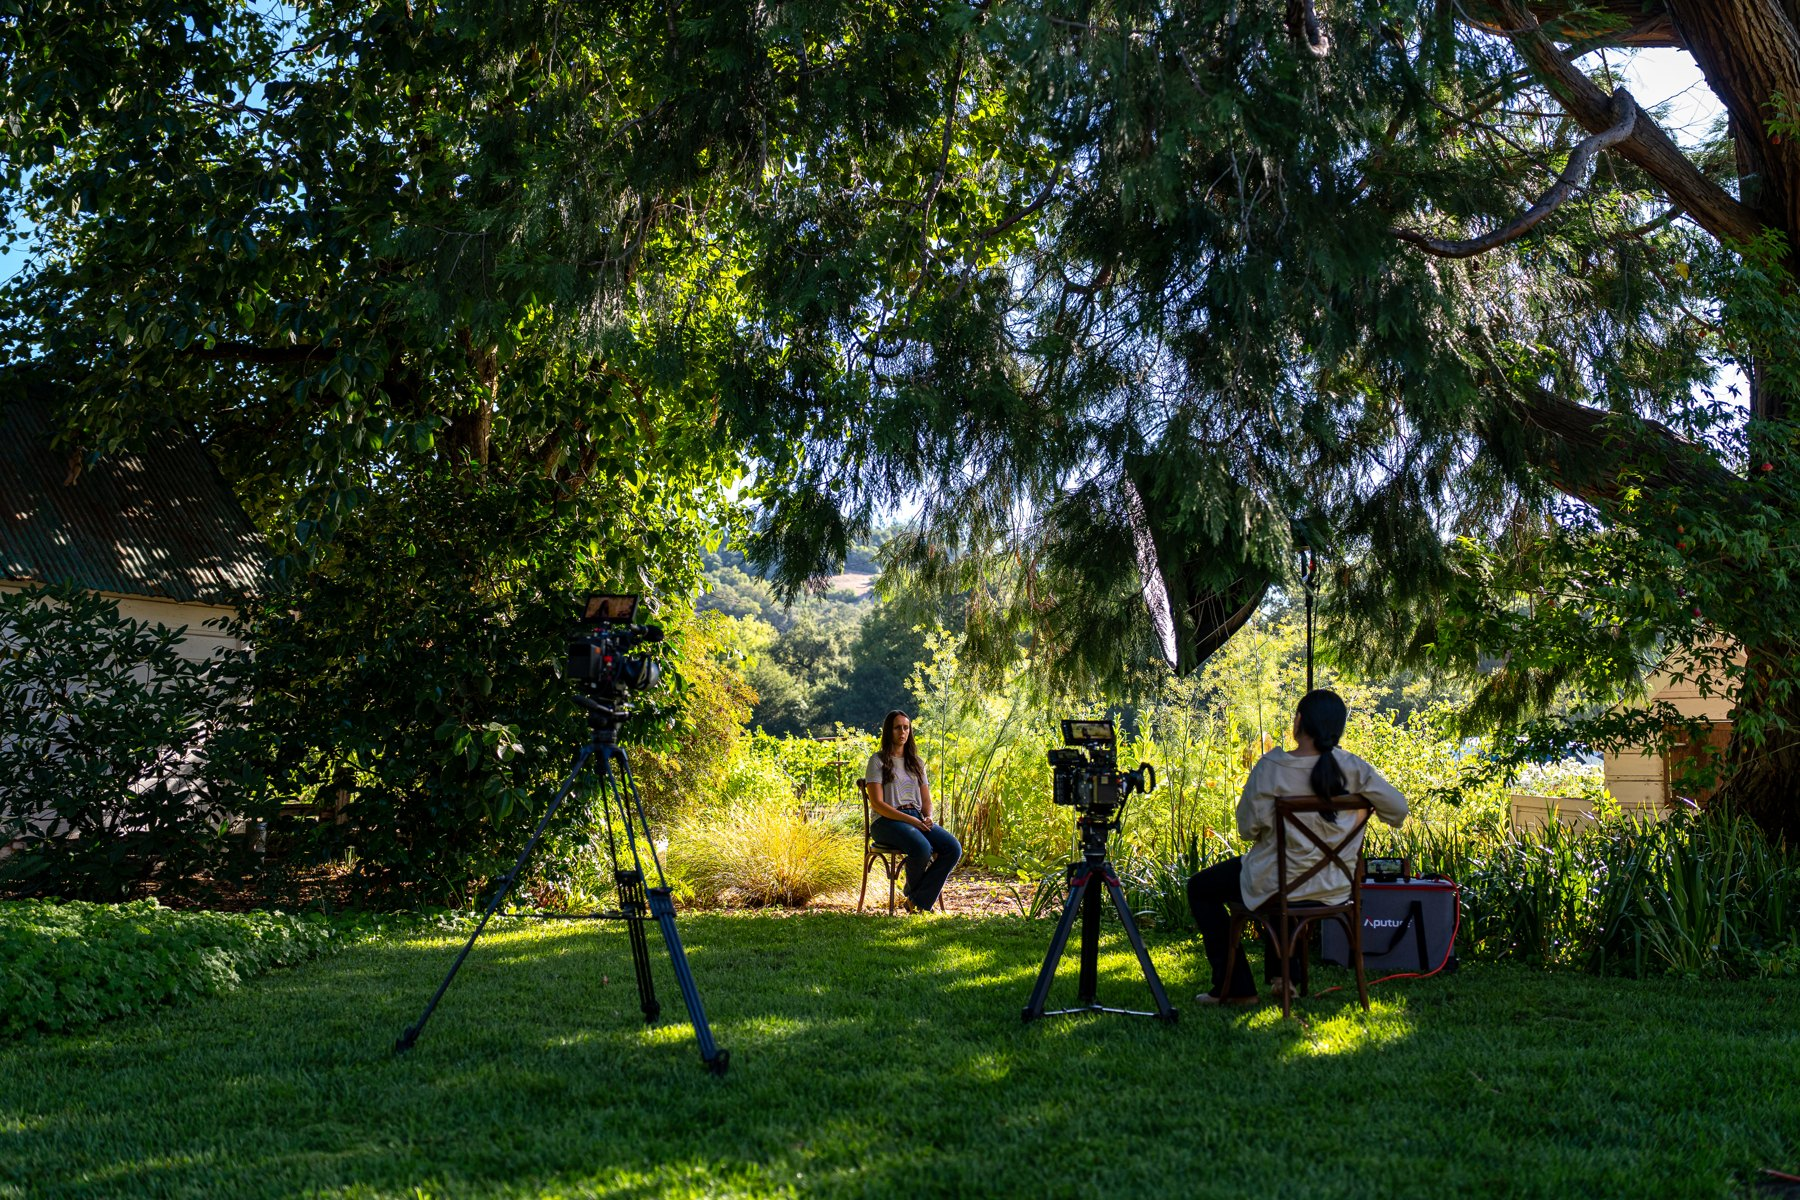
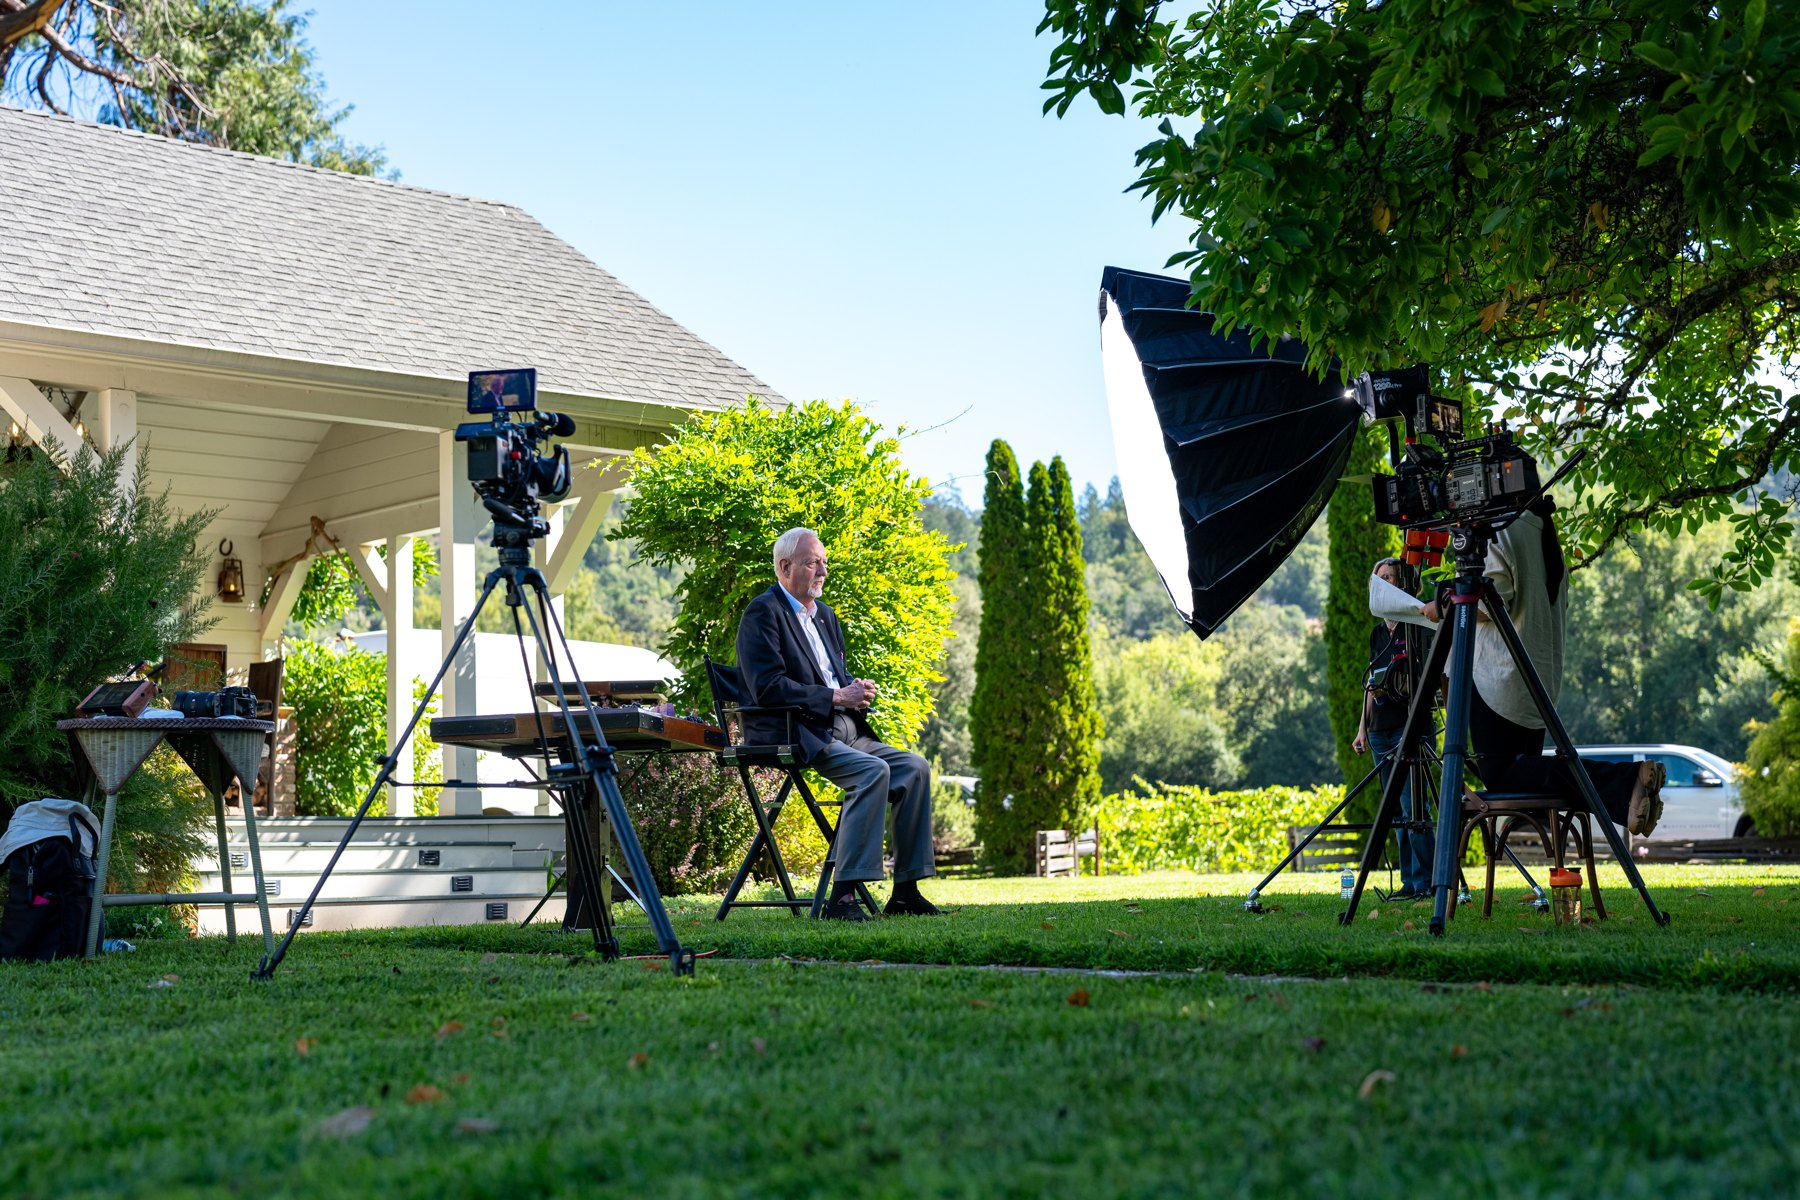
We used basically the same setup for the interview under the tree and the last one by the porch. Different backgrounds, same game plan. On a day with a bunch of interviews, that’s huge: I’m not fighting the gear, so I can spend my time on framing and light.
OUTDOOR INTERVIEW / FINISHED FRAME
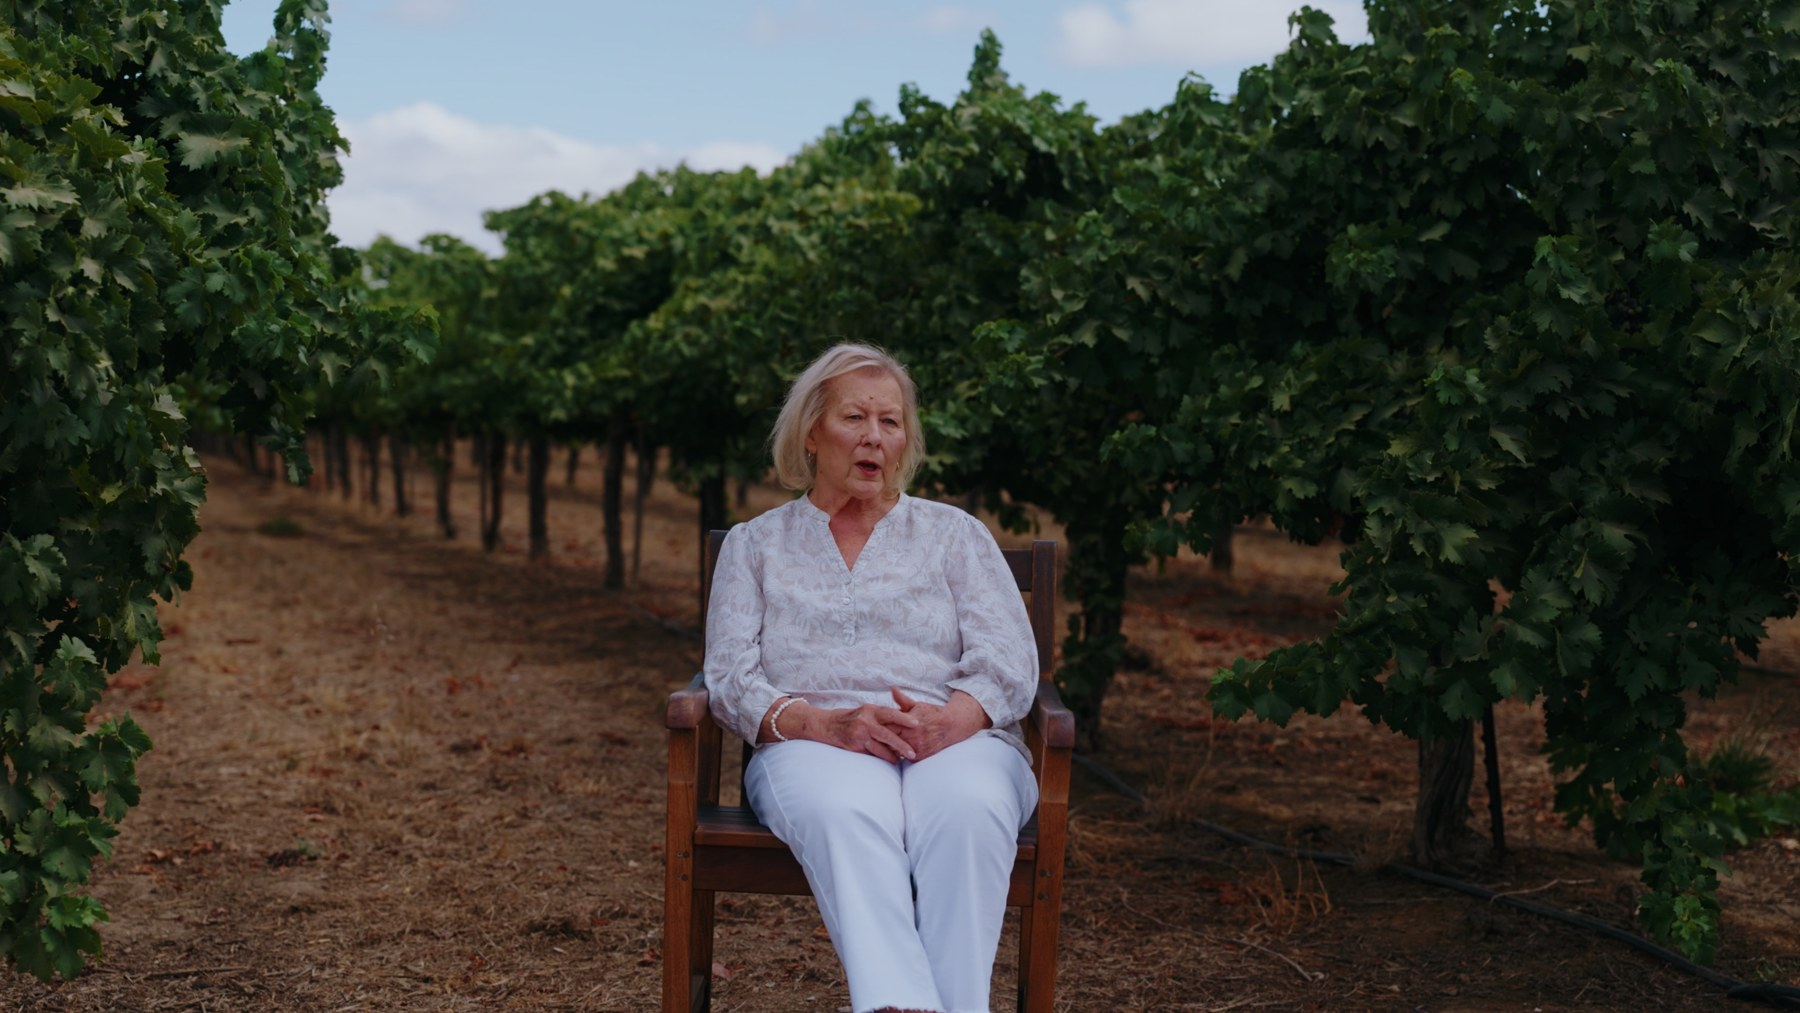


The 50mm and 70–200mm are where I start, but the room has the final say on where cameras go. Make the main and side frames different enough that cutting between them feels on purpose, and keep both cameras on the same side of the eyeline.
Before you roll, take a second and just listen. AC, fridges, traffic outside, it all ends up in your audio. Check sound on every camera, confirm your sync plan, and make sure you’ve got enough battery and media for a long answer. Once the conversation gets going, you don’t want to stop it.
02 / COMMERCIALS
Commercials can go a lot of different directions. Some shots just need a simple locked-off frame. Others need camera movement, a big lighting setup, or a few people watching the monitor. I break down the scenes first, and that tells me what gear actually needs to come.
STUDIO / THE REPUBLIC OF TEA
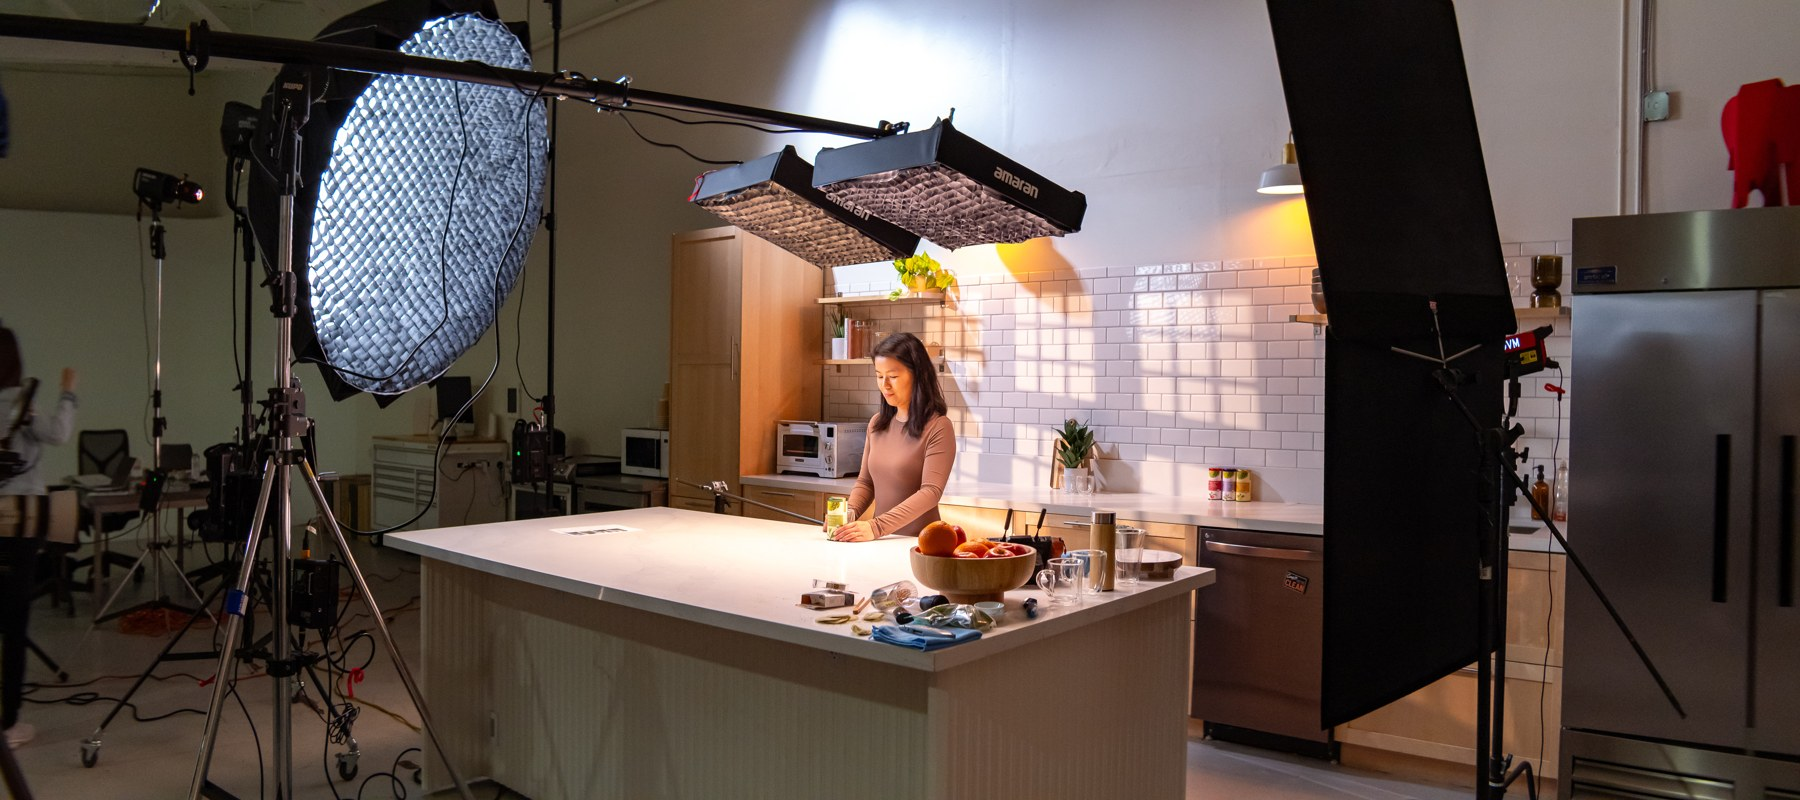
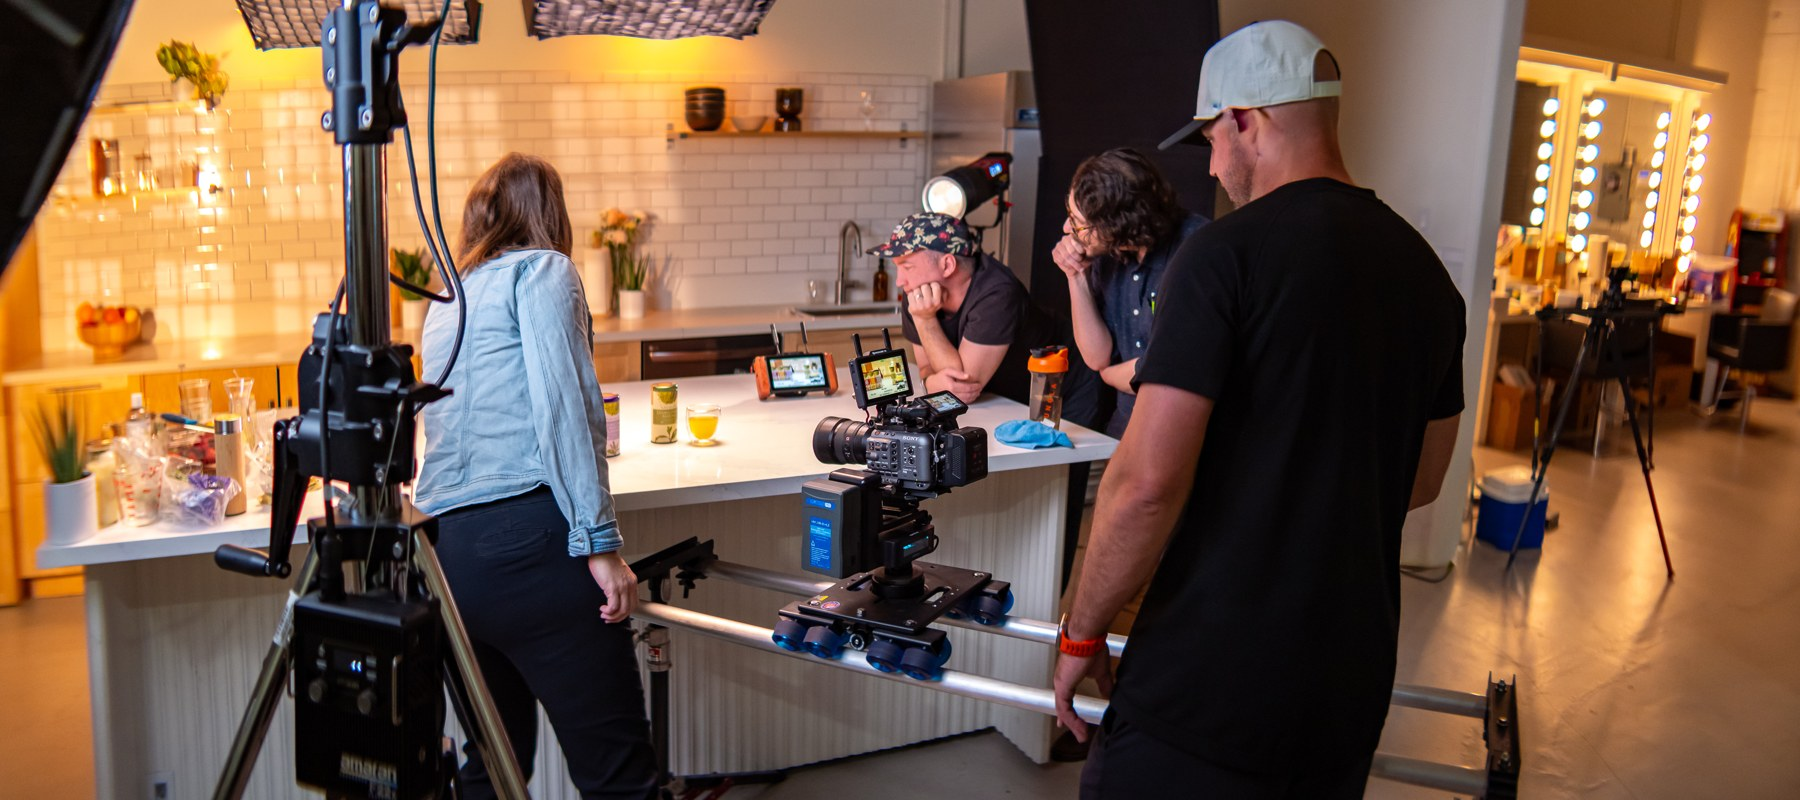
For The Republic of Tea’s new matcha, a small team of us built the kitchen look the client was after. I shot it on the Sony FX6, with overhead light, a fake window pattern, negative fill, and some smooth camera moves doing the heavy lifting.
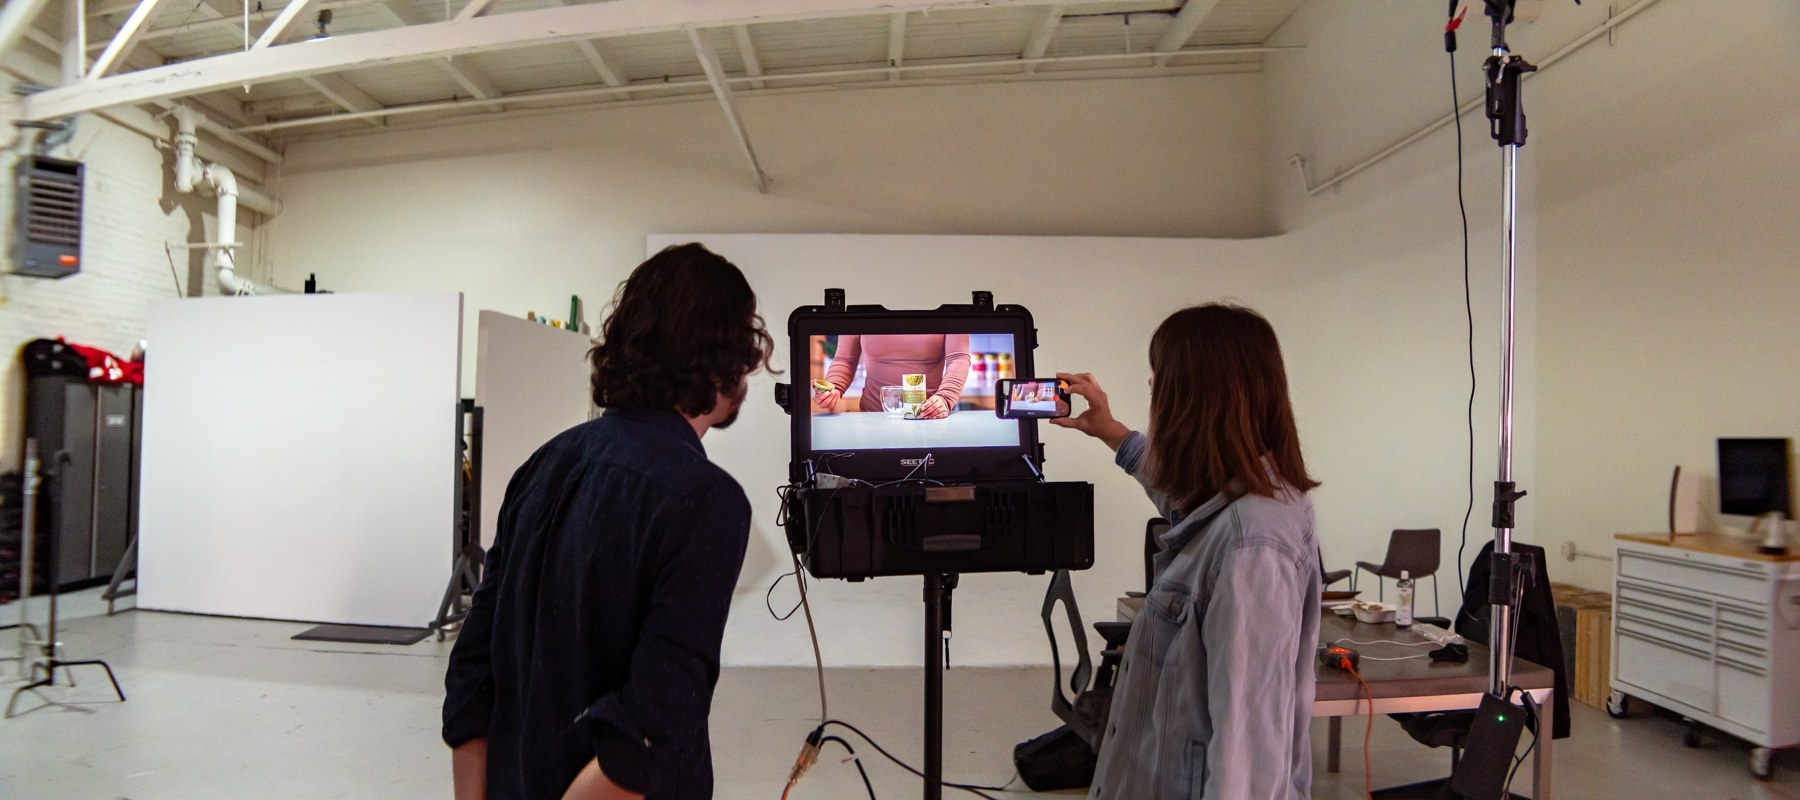
A wireless feed let the client watch along as we dialed in the framing and product details.
FROM THE SHOT LIST TO THE KIT
Before I pick a movement tool, I ask what the shot actually needs to show. A label needs time to be read. A pour needs a clear view of the action. A move around the product can show off its shape or bring the background into play. Then I pick the support that fits.
A locked-off frame gives the action a stage. For a pour, a hand reaching in, or a product detail, I can work on placement, timing, and focus without the camera moving too. If the subject is already doing the moving, a tripod is a great place to start.
A slider is my go-to for a small, controlled shift in perspective. I nail down the start and end frames, then run the whole move looking for reflections, focus issues, and anything sneaking into the background. Going motorized means the move is the same every take while we fine-tune the action.
When I need a longer move with a fully built camera, I go to track. On the matcha shoot we put the eMotimo Spectrum ST4 on a Dana Dolly, plus a motorized slider. The best part is shaping the move around the product and the talent. Just know that track needs space, level supports, and real time in the schedule.
Before I commit to a move, I ask what it’s really adding. If a locked frame tells the story, that’s the right call. When movement helps reveal the product or tie the scene together, I plan the framing, light, and action around the whole path.
For the matcha setup, we hung the amaran F22c and amaran F22x overhead on a Kupo Big Boom for rim light. That got the lights up above the action and kept stands out of the way. Then I check how the light hits the talent, the hands, and the product all together, and watch out for reflections in glass and shiny packaging.
Our main light was the Aputure 1200d. It’s been replaced, so the link goes to the newer Aputure 1200X.
The amaran 300c with a Spotlight attachment and gobo threw a window pattern onto the backsplash, like sunlight coming through a window. That let us shape the background on its own, separate from the main light. Negative fill kept the bounce in check, and a few accent lights cleaned up the details.
With moving shots, I check the pattern, shadows, and reflections from both ends of the move. Something that looks great in one frame still has to hold up the whole way through.
On this shoot, the Hollyland Pyro S sent the camera feed to the SEETEC monitor and Hollyland Pyro 7. When the client and crew are all looking at the same picture, it’s way easier to talk through framing, product placement, and action while everything’s still set up.
On a small team, clear direction is everything. The client knows the look they want, and we work together to nail it. I want feedback while we can still tweak the light or run it again, and I make sure we’re all happy before we move on.
ON LOCATION / COMMERCIAL WORK
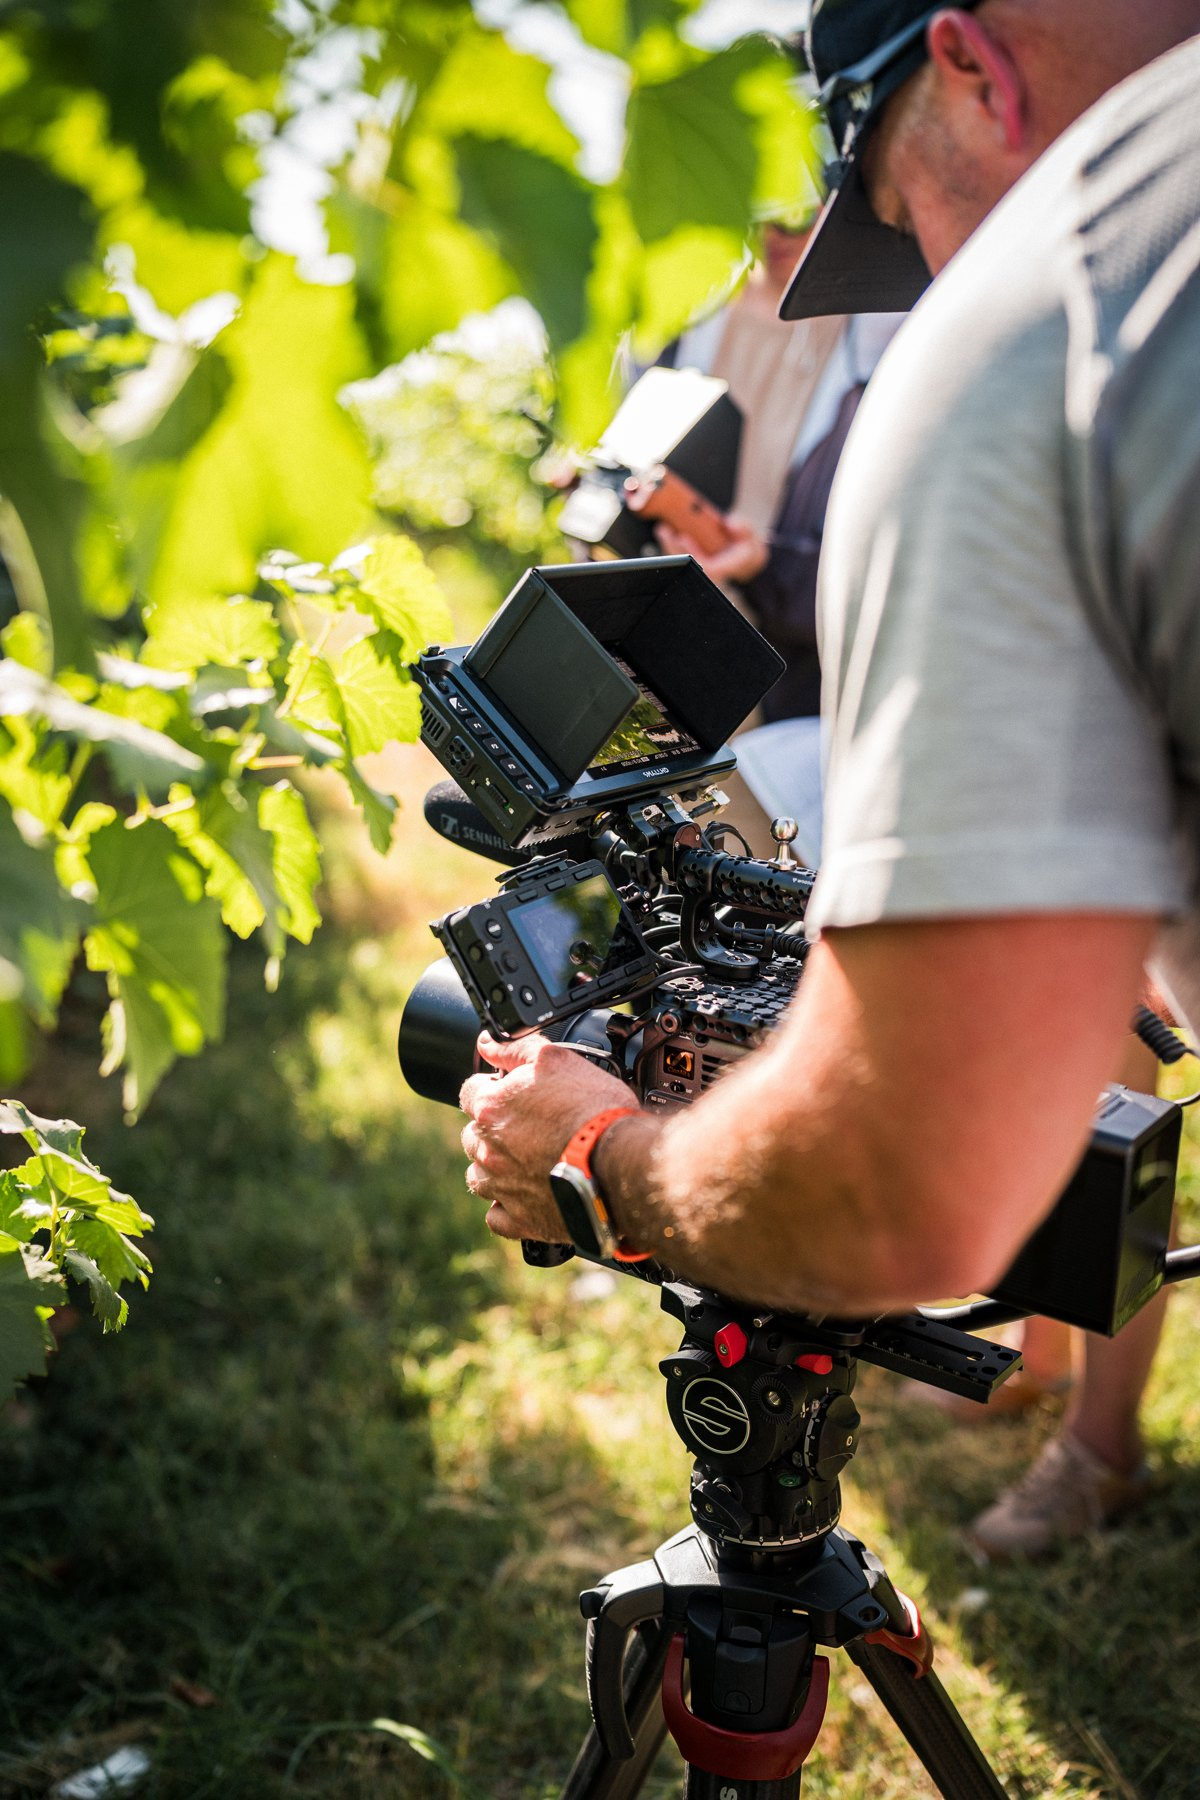
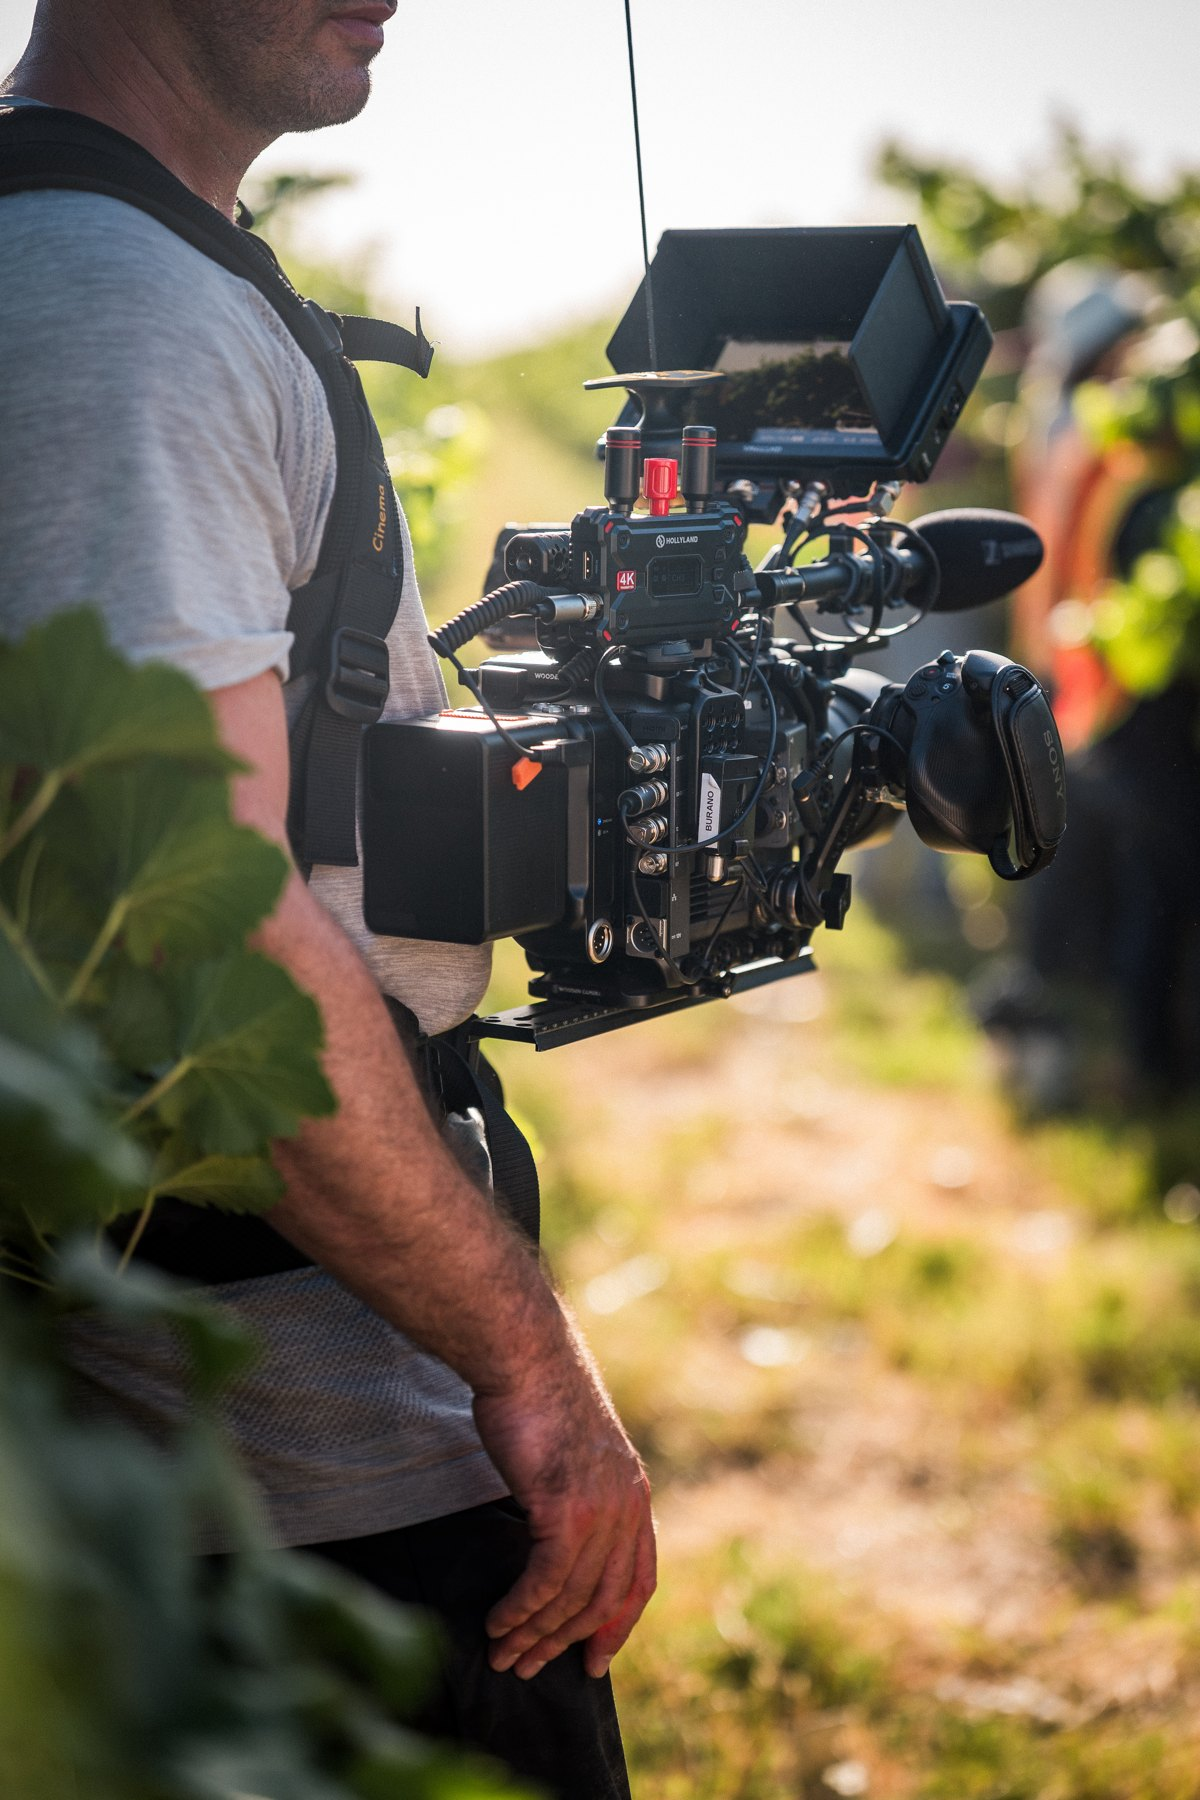
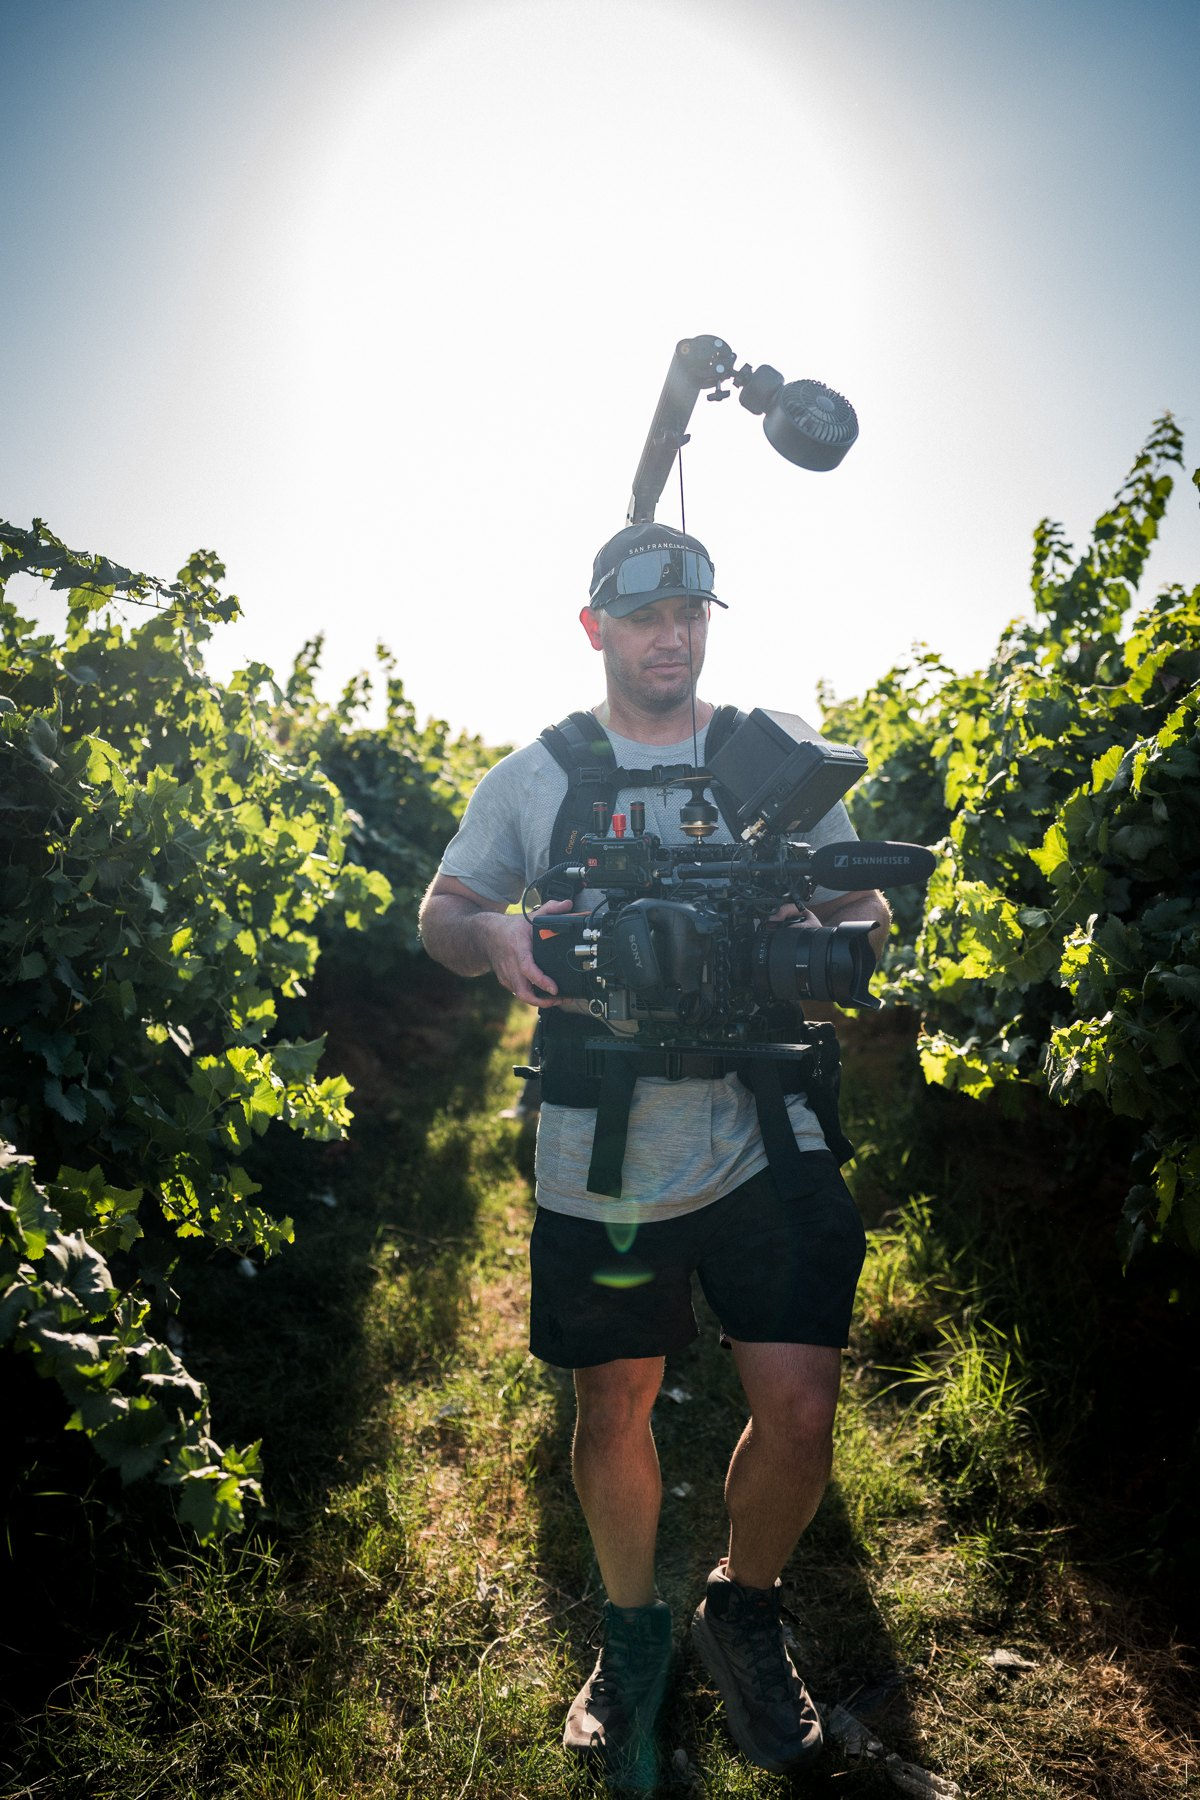
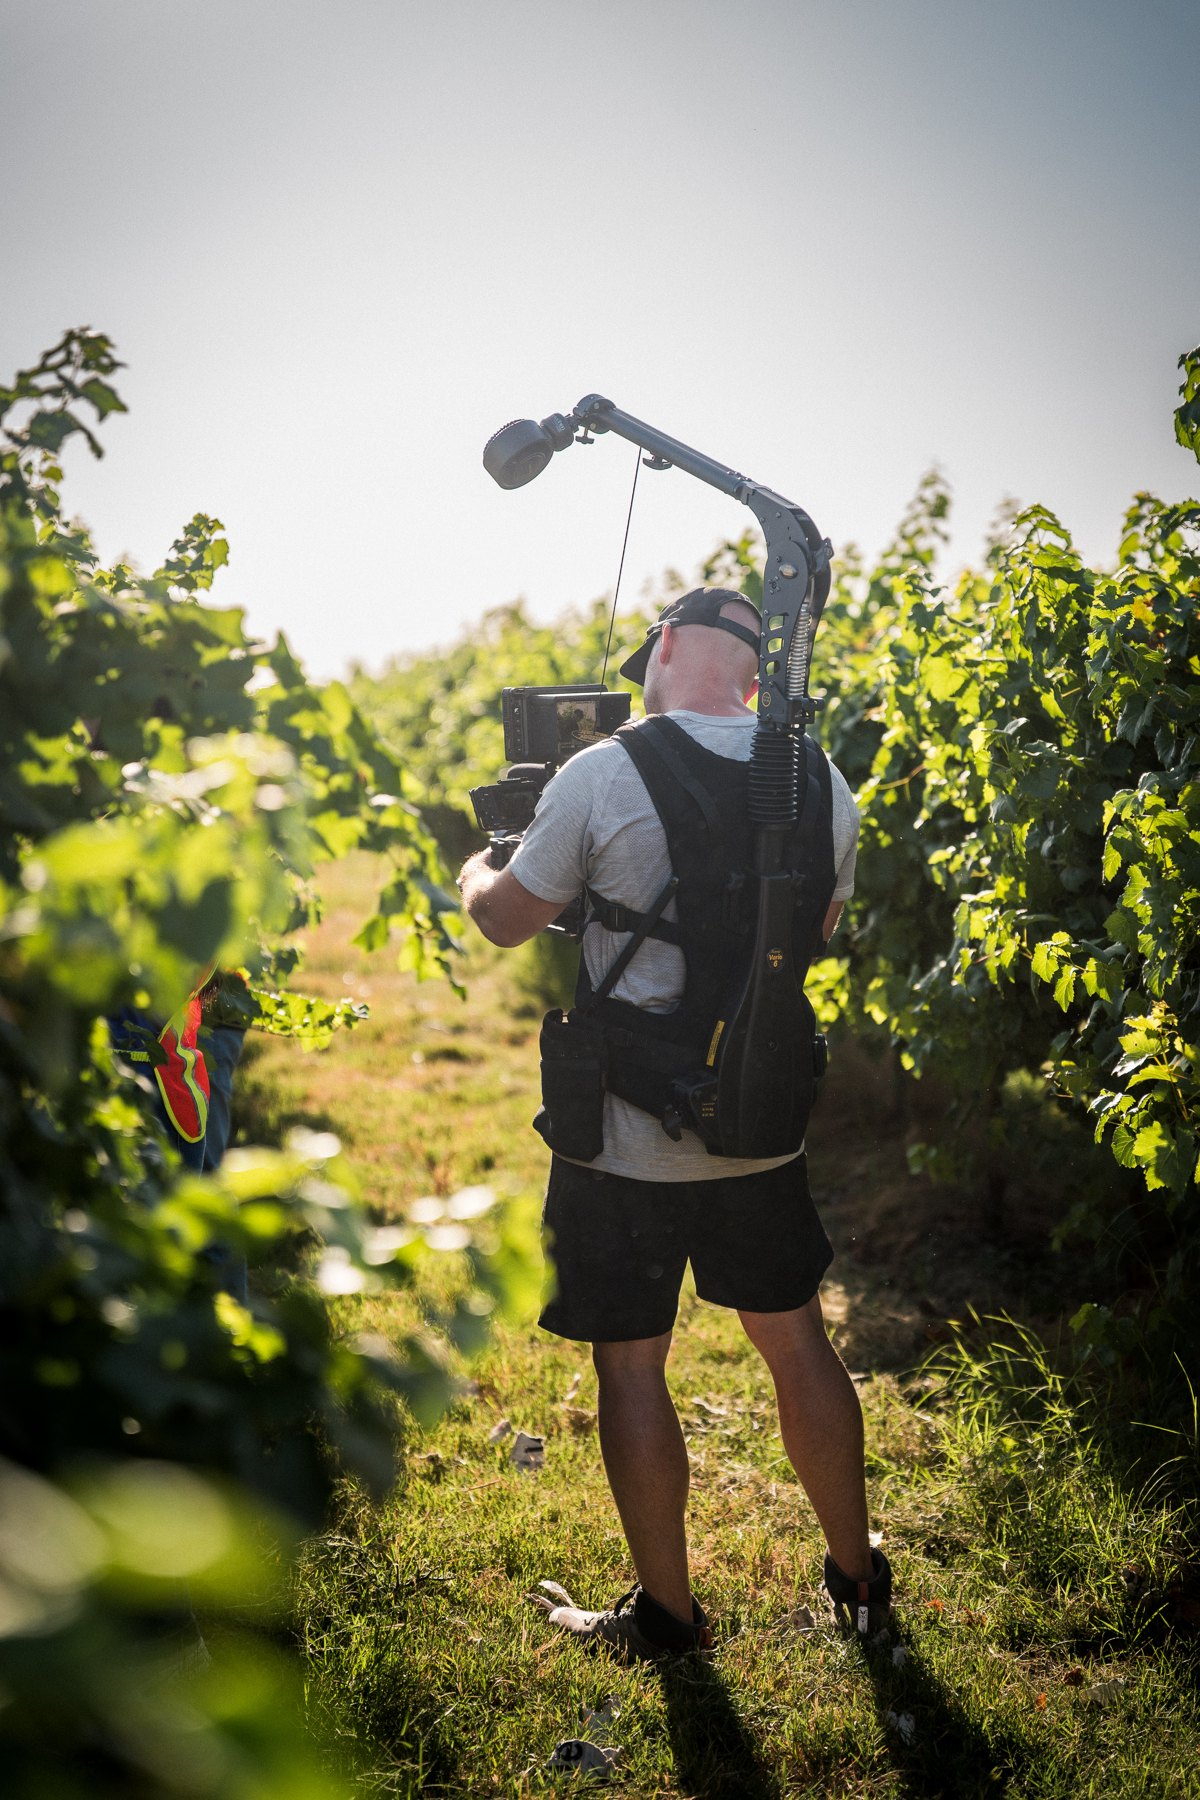
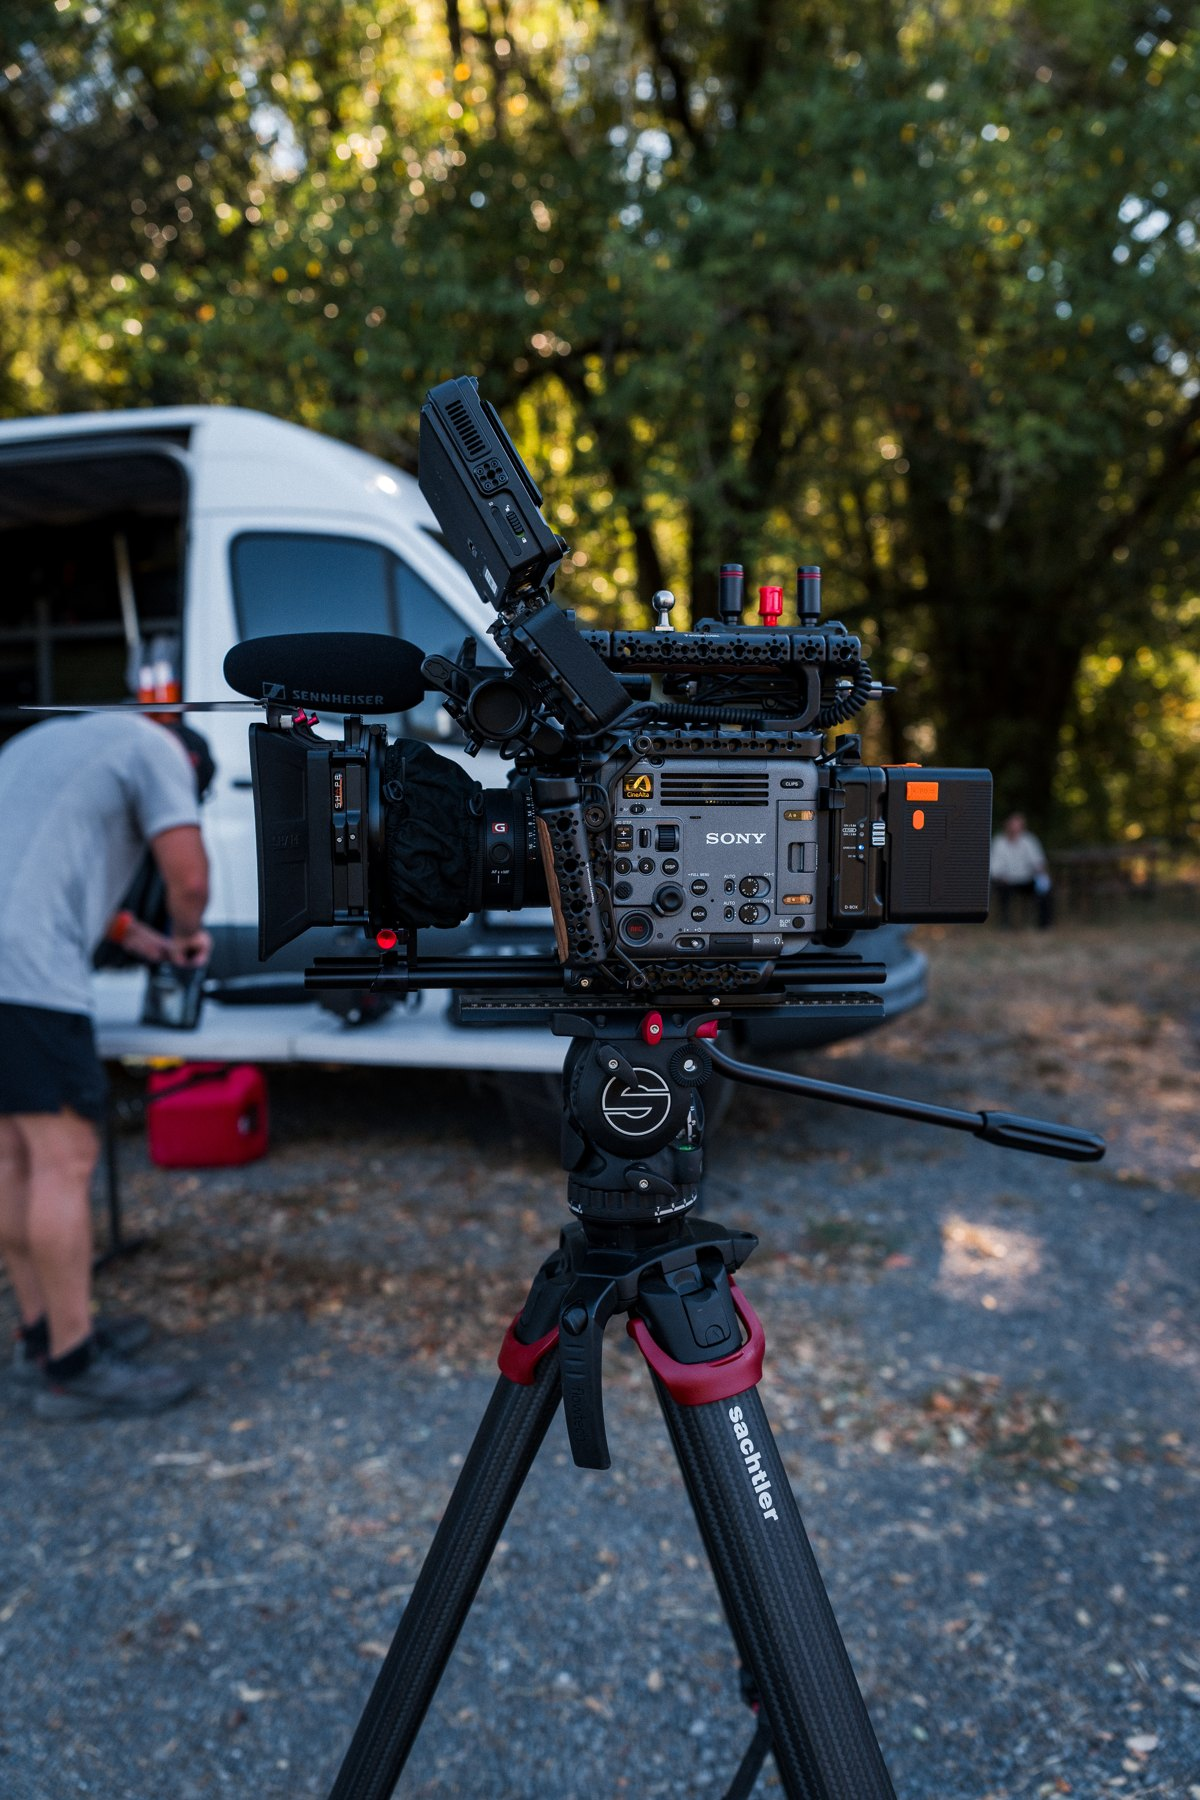
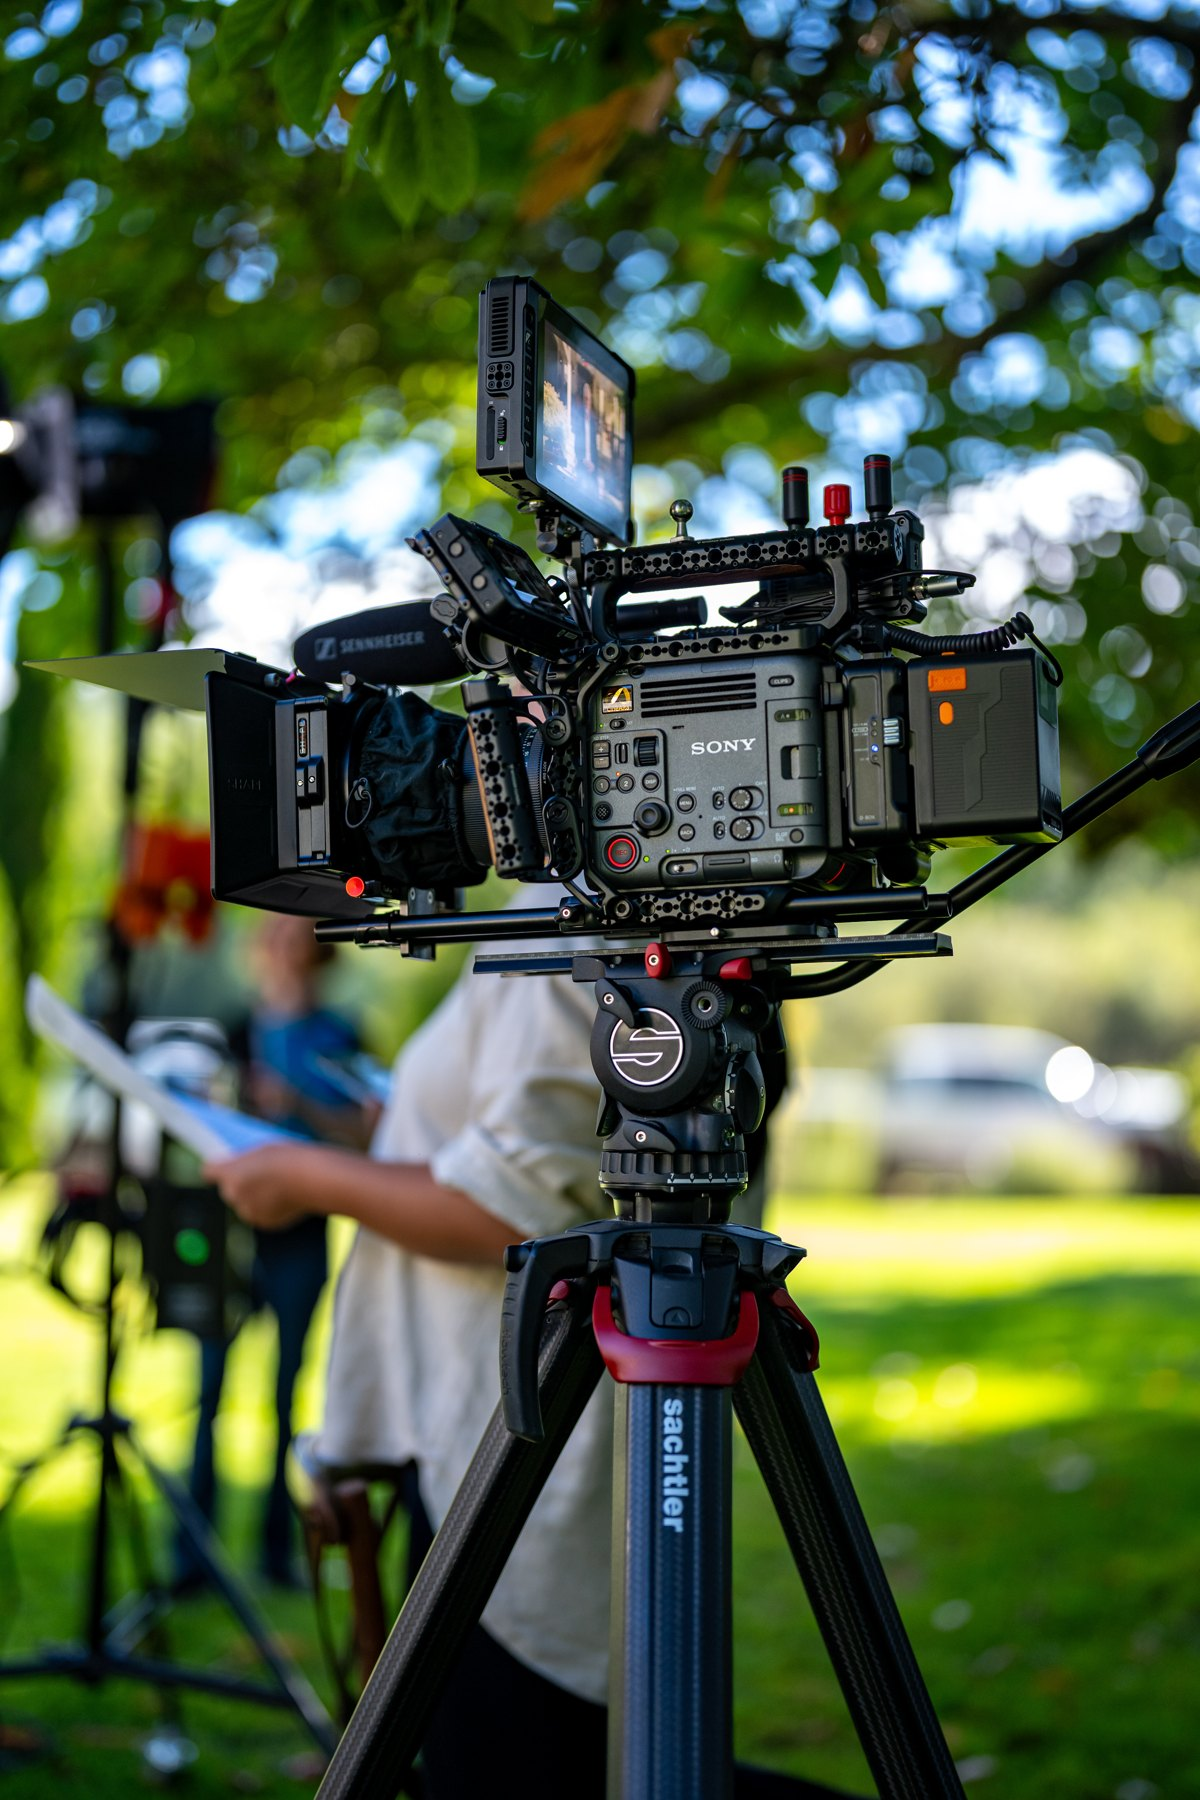
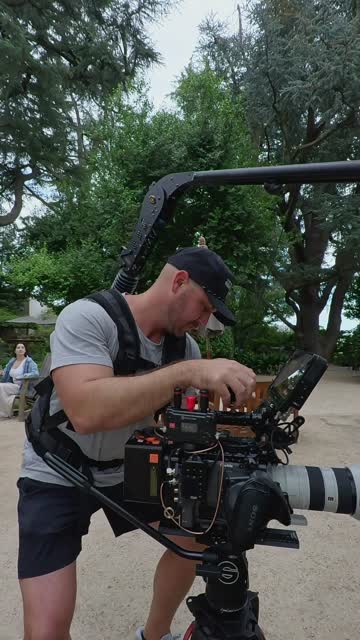
The Sony BURANO was my A camera on this commercial. Once it’s built out for the day, the support and monitoring matter just as much as the camera. I want to move freely, keep the client in the loop, and still feel good hours into the day.
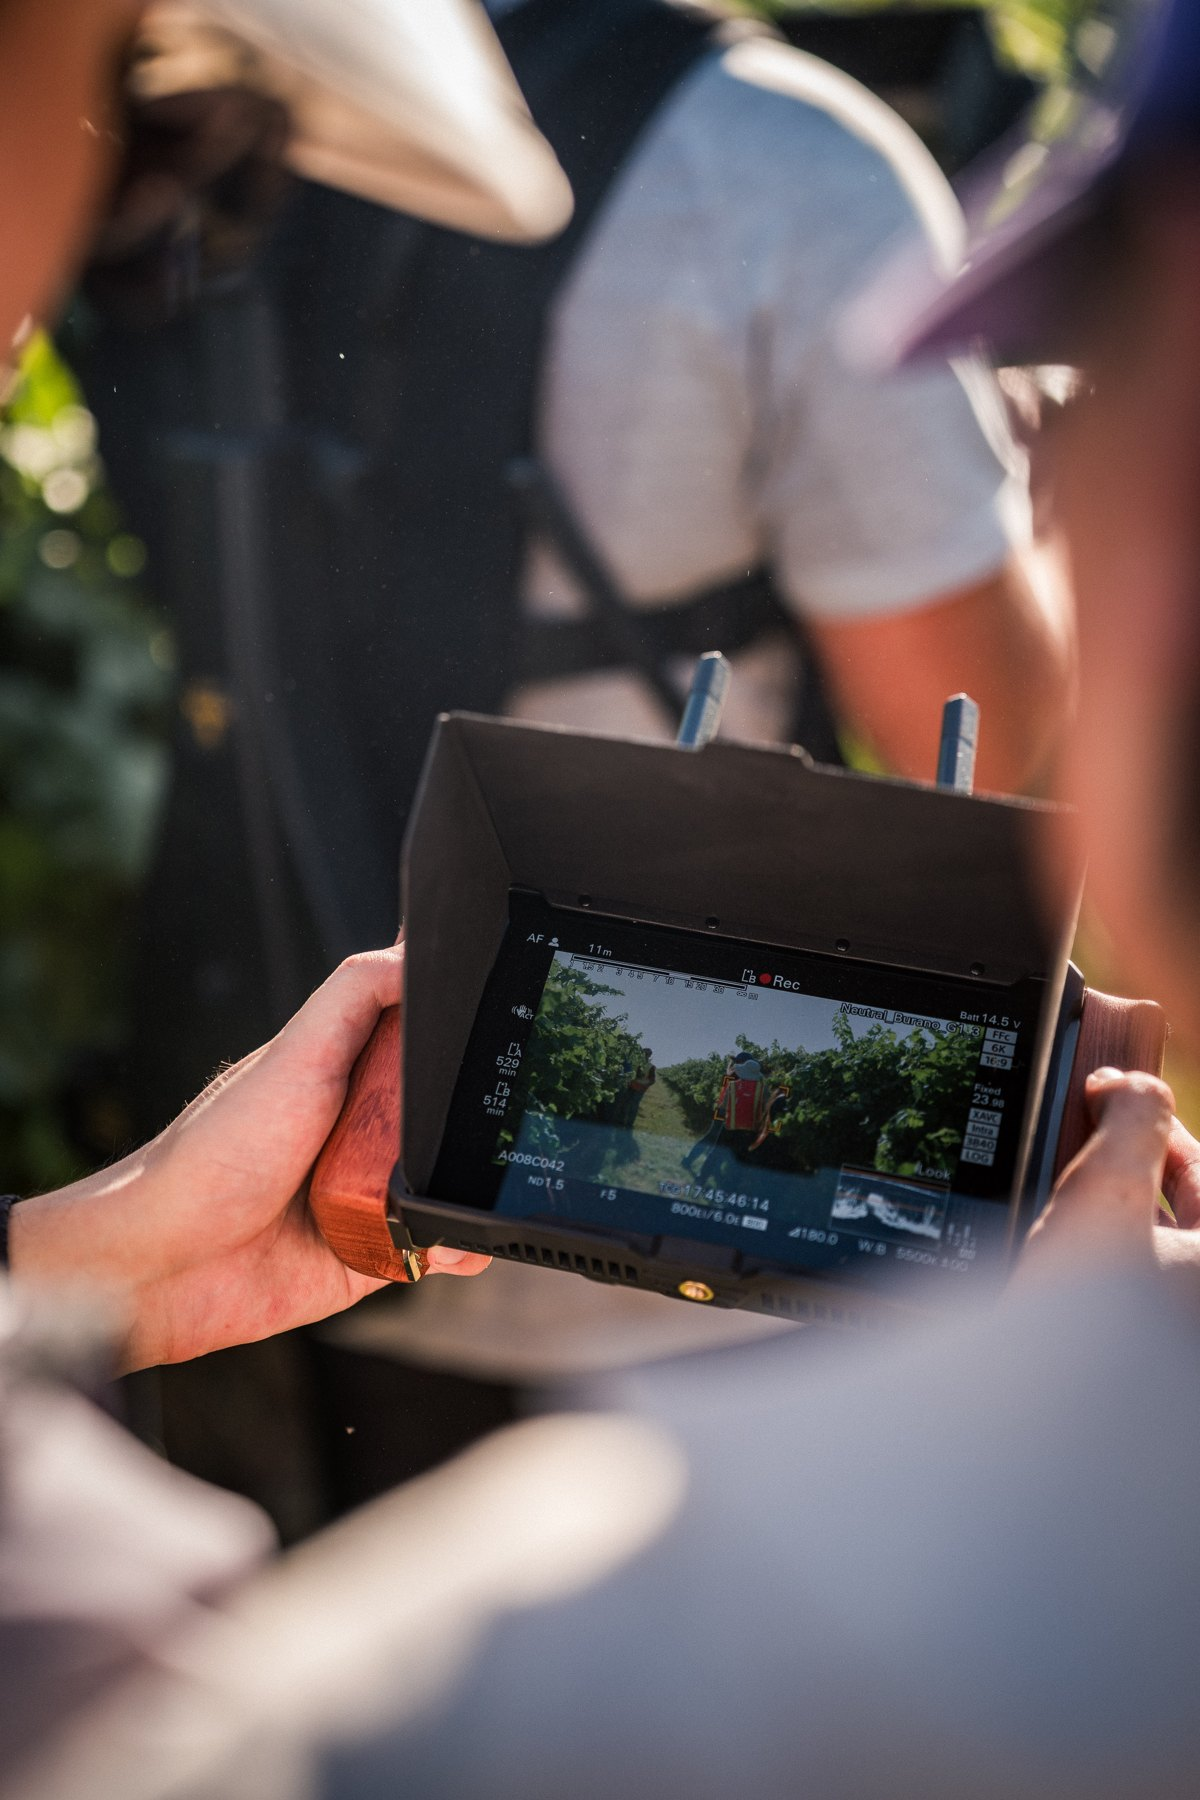
I like giving the client an external monitor with a wireless feed. They can watch the framing and approve each shot as we work through the day, instead of waiting until we’ve moved on to the next setup.
It also gives me some breathing room. They have a good view of the image without having to stand behind me and look over my shoulder. I can change position and work around the scene while they keep watching.
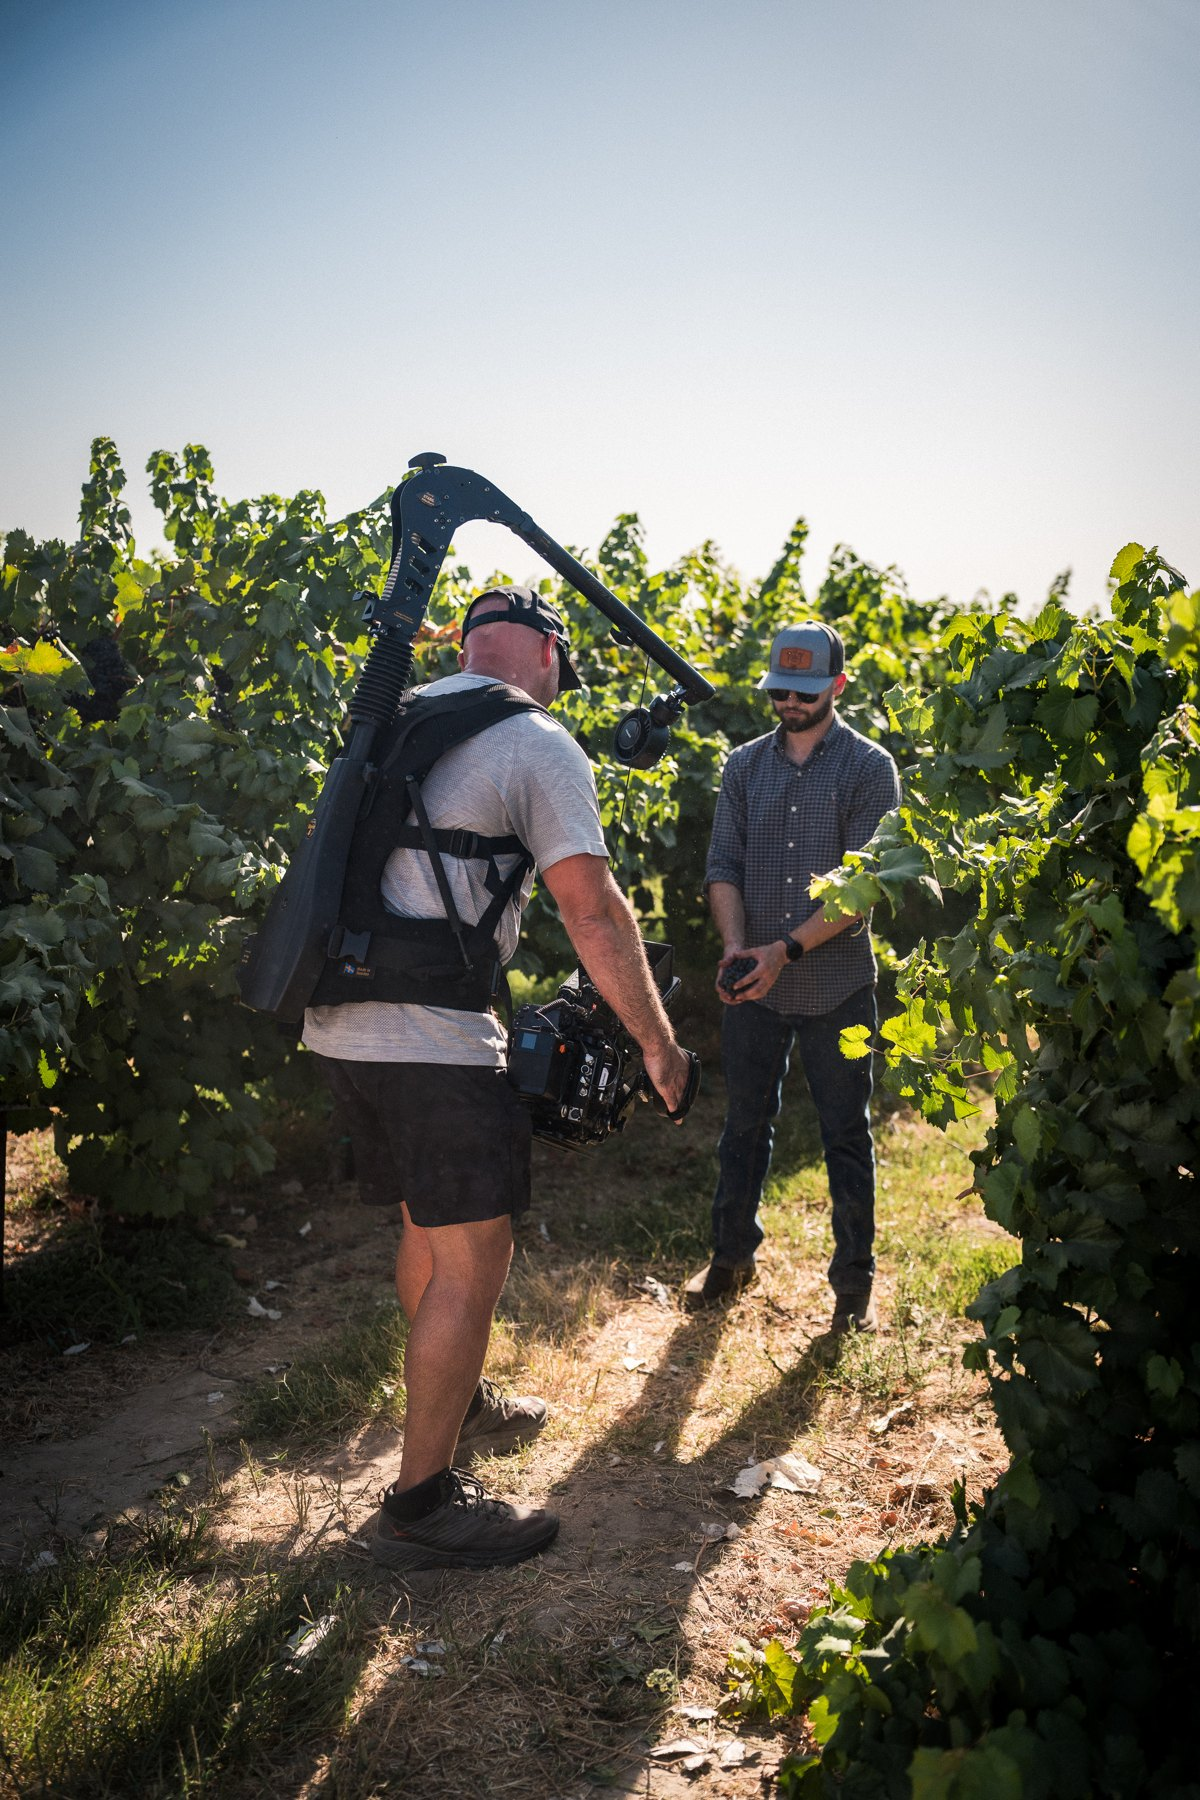
I love the Easyrig Vario 6 for long shoot days. A fully built camera adds up after a few hours, and having that extra support helps me keep working comfortably.
I still choose the support for the shot. A tripod makes sense for a locked frame. When I’m moving around with the BURANO, the Easyrig takes some of that weight off my arms so I can concentrate on the framing.
ON LOCATION / HARNEY LANE
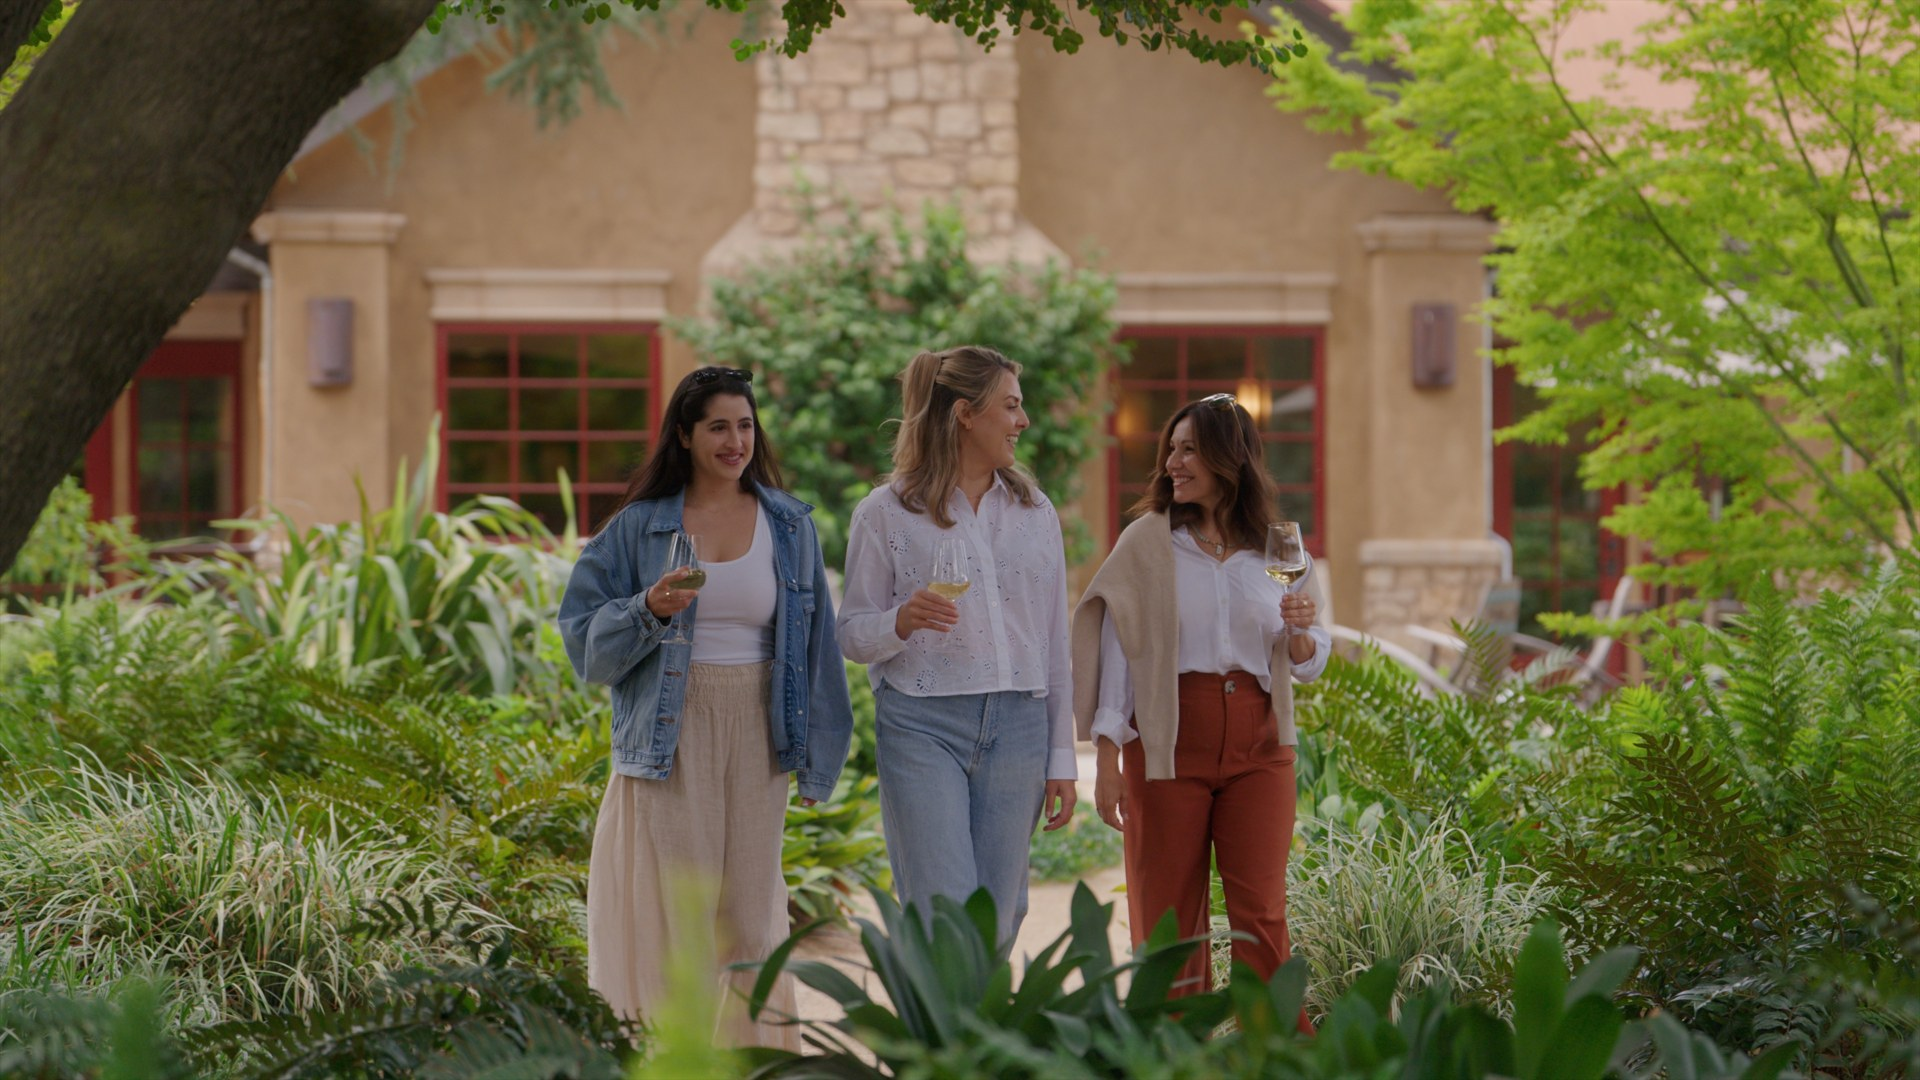
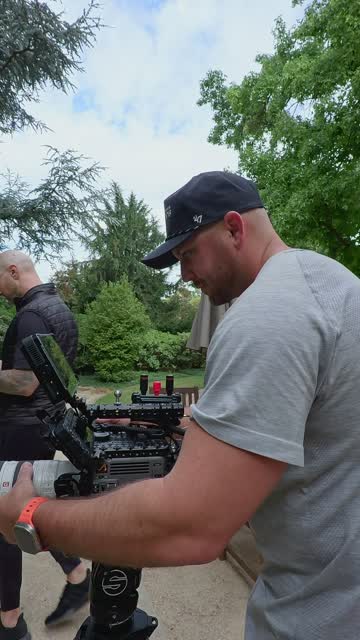
For Harney Lane, Jose Rosas and I worked through photos and video in the garden, inside the home, and out on the patio. We used the BURANO for video and the α1 II for photography, with the 28–70mm and 70–200mm doing much of the coverage.
That’s one way a commercial kit can look. The big lesson: make the camera package, lighting, and crew fit the day you actually have.
Bigger scenes might need more light, bigger diffusion, wireless video, or a dedicated camera move. Just remember all of that takes people and time to set up. Match your gear to your crew and your schedule, not just the shot in your head.
03 / SOCIAL CONTENT
Leave room to move.
A content day can be a little bit of everything: a quick interview, product details, people at work, a few portraits. Your kit has to roll with that without a full reset every time. It helps to know up front which clips need sound, which shots need movement, and where everything’s going to end up.
The starting point
When the job grows
If the client needs horizontal and vertical versions, plan your framing for both before you roll. A second set of hands can run light, audio, or another camera while you keep the day moving. And only add gear when it solves a real problem or makes your life easier.